Maintaining a swimming pool involves more than just balancing chemicals and skimming leaves. Lighting plays a critical role in both the evening atmosphere and the safety of the swim area. When an underwater light fails, many homeowners assume the process of fixing it involves draining the pool or hiring an expensive dive team. However, the design of modern pool lighting systems allows for service without lowering the water level by even an inch. Most fixtures are engineered with a specific amount of extra cable coiled behind the housing, allowing the entire unit to be lifted onto the pool deck for maintenance.
Whether you are upgrading from an older incandescent bulb to a more efficient diode-based system or replacing a failed unit, understanding the mechanical and electrical requirements is vital. This process requires a blend of basic plumbing logic-ensuring a watertight seal-and fundamental electrical safety. Because water and electricity are a high-risk combination, following specific protocols regarding Ground Fault Circuit Interrupters (GFCI) and proper grounding is non-negotiable.
Understanding Your Pool Lighting System
Before beginning the process to replace LED pool light components, you must identify what type of system you have. Most residential pools built in the last 40 years use "niche-mount" lighting. A niche is a wet-matted housing built into the pool wall during construction. The light fixture sits inside this niche, held in place by a single pilot screw and a locking tab. The water circulates freely around the back of the fixture, which helps cool the light during operation.
The electrical configuration generally falls into two categories: 120V (high voltage) or 12V (low voltage). 120V systems run directly from the house's electrical panel to the junction box. 12V systems utilize a transformer, usually located near the pool equipment pad, to step down the voltage. Low-voltage systems are increasingly common in modern builds because they provide an inherent layer of safety. You must match the voltage of your replacement bulb or fixture to your existing power source; installing a 12V bulb into a 120V circuit will cause the component to fail instantly and potentially dangerously.
Niche-Mount vs. Nicheless Lights
Traditional niche-mount lights are large, typically about 10 inches in diameter. They are powerful and can illuminate a large area. Nicheless lights are smaller, often 1.5 inches in diameter, and screw into a standard 1.5-inch return fitting. Nicheless lights are almost exclusively LED and operate on low voltage. This guide focuses primarily on the traditional niche-mount fixtures, as these are the most common units requiring bulb or gasket servicing.
Safety Protocols and Required Tools
Safety is the primary concern when working on pool electronics. The National Electrical Code (NEC) Article 680 dictates strict requirements for pool lighting. Every pool light circuit must be protected by a GFCI. This device monitors the flow of electricity and shuts off the power in as little as 1/40th of a second if it detects a leak to the ground. Before you touch the water or the fixture, you must verify that the power is disconnected at the breaker.
Gather the following tools before starting:
Phillips and Flathead screwdrivers: For the pilot screw and the lens clamps.
A large towel: To place the fixture on while working on the pool deck to prevent scratching the lens.
Replacement gasket: Never reuse an old gasket.
Silicone-based lubricant: Specifically for rubber O-rings (do not use petroleum-based products like Vaseline).
Multimeter: To verify the presence (or absence) of voltage.
Step 1: Disconnecting Power and Testing
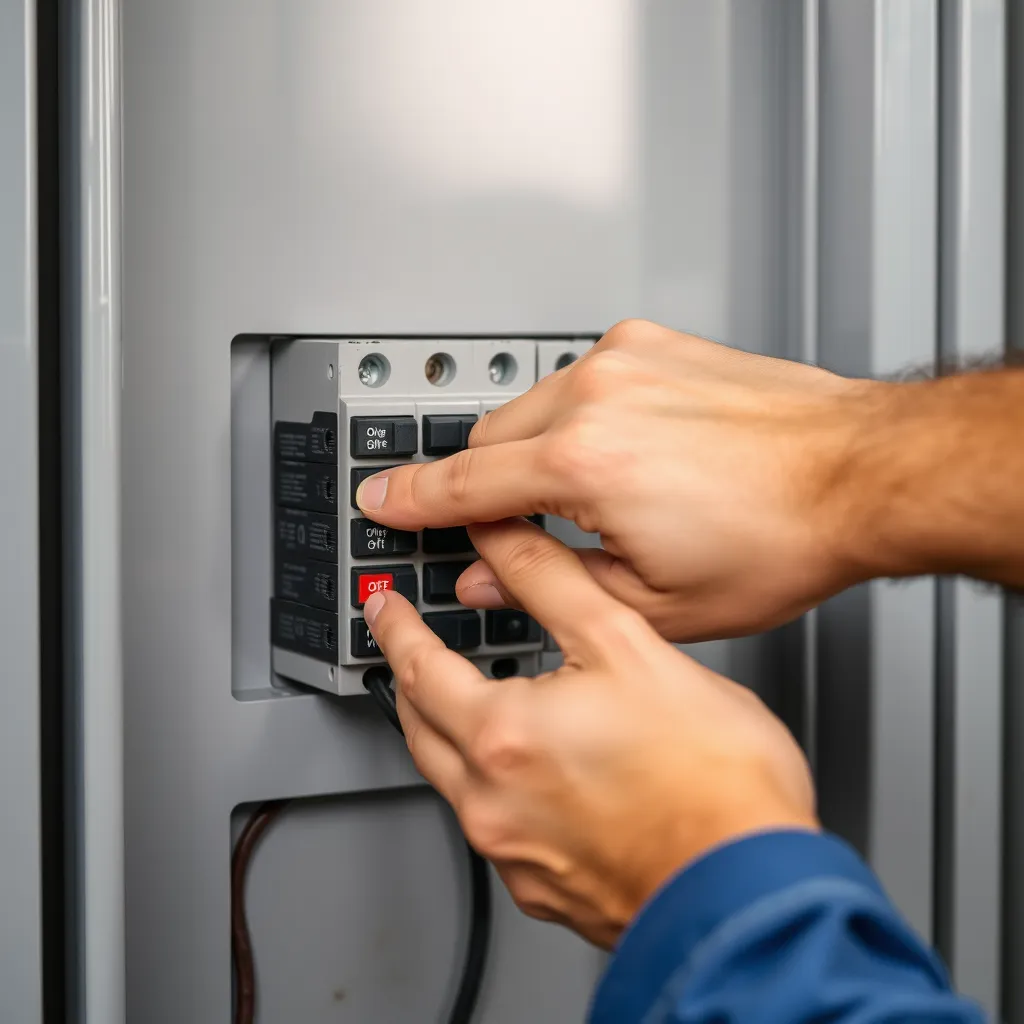
Locate your pool's sub-panel or the main house panel. Find the breaker labeled "Pool Light." Switch it to the "Off" position. Even if the light is already "burnt out," the wires behind it are still live until the breaker is flipped. If your system includes a transformer for 12V lights, ensure the power to the transformer itself is cut. Once the breaker is off, try to turn the light on using the pool's automation system or wall switch to confirm it does not activate. For absolute certainty, use a non-contact voltage tester near the light switch or the junction box.
Step 2: Extracting the Fixture from the Wall
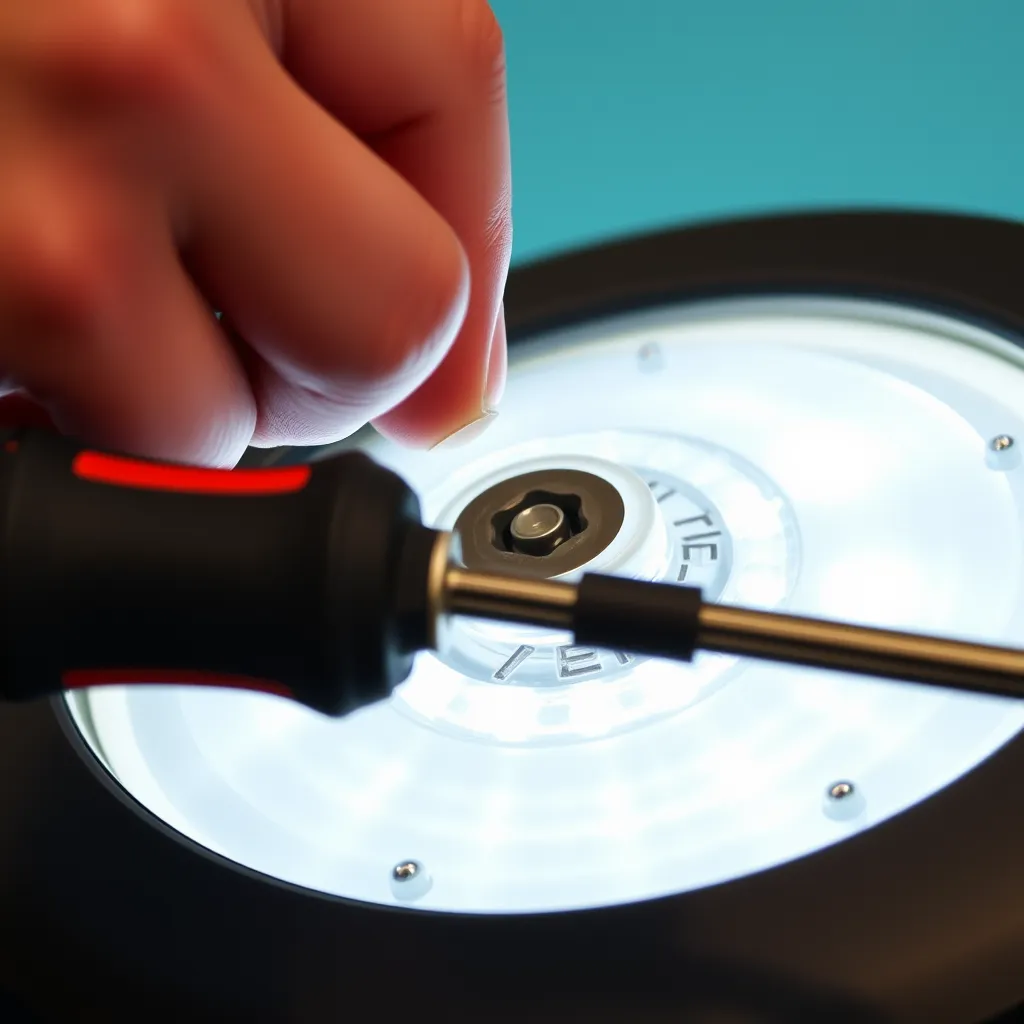
The light fixture is held into the wall niche by a single "pilot screw" located at the very top (the 12 o'clock position) of the chrome or plastic face ring. Use a screwdriver to remove this screw. Be careful not to drop it, as it can be difficult to find at the bottom of the pool. Once the screw is removed, use a flathead screwdriver or your fingers to gently pry the top of the light away from the wall. The bottom of the light usually has a tab that hooks into the niche, so you will need to tilt the top out and then lift the unit upward.
As you pull the light out, you will see a thick black or grey cord trailing behind it. This is the "service cord." In a proper installation, there should be 4 to 8 feet of extra cord coiled inside the niche. Gently pull this cord out until you can lift the entire fixture out of the water and place it on the pool deck. If there is no slack, do not force it; this indicates an improper installation where the cord was pulled tight at the junction box, and you may need to loosen it from the "dry side" junction box before proceeding.
Step 3: Disassembling the Light Housing
Lay the fixture face-down on a towel. Most modern LED and older incandescent fixtures use a large metal clamp or a series of 8 to 12 small bolts to hold the glass lens against the metal housing. If your fixture has a circular metal clamp, loosen the nut holding the clamp together. Once the tension is released, the clamp will expand, allowing you to lift the lens and the gasket off the housing.
Inside, you will find either a large bulb (typically a PAR56 or R40 shape) or an integrated LED board. If you are performing a bulb-only replacement, unscrew the old bulb. Be cautious, as older halogen bulbs can become extremely hot. Inspect the interior of the housing for any signs of moisture or "burn marks" on the socket. If the socket is corroded or melted, the entire fixture must be replaced, as a simple bulb swap will likely fail within weeks.
Step 4: Choosing the Right Replacement
When you replace LED pool light bulbs, you have choices regarding brightness (lumens) and color. LED technology offers much higher efficiency than traditional lamps.
Feature | Incandescent/Halogen | Standard White LED | Color-Changing LED |
|---|---|---|---|
Power Consumption | 300W - 500W | 30W - 50W | 30W - 60W |
Lifespan (Hours) | 1,000 - 5,000 | 30,000 - 50,000 | 30,000 - 50,000 |
Heat Output | High (Requires water cooling) | Low | Low |
Brightness Control | External Dimmers (Rare) | Fixed or Dimmable | Remote/App Controlled |
Initial Cost | $20 - $40 | $100 - $200 | $150 - $400 |
Standard white LEDs are ideal for visibility and safety, providing a crisp, daylight-balanced glow. Color-changing (RGB) LEDs allow you to cycle through various hues or "light shows." If you choose a color-changing bulb, ensure it is compatible with your existing switch. Most "smart" pool bulbs change colors by rapidly toggling the power switch on and off.
Step 5: The Critical Gasket Seal
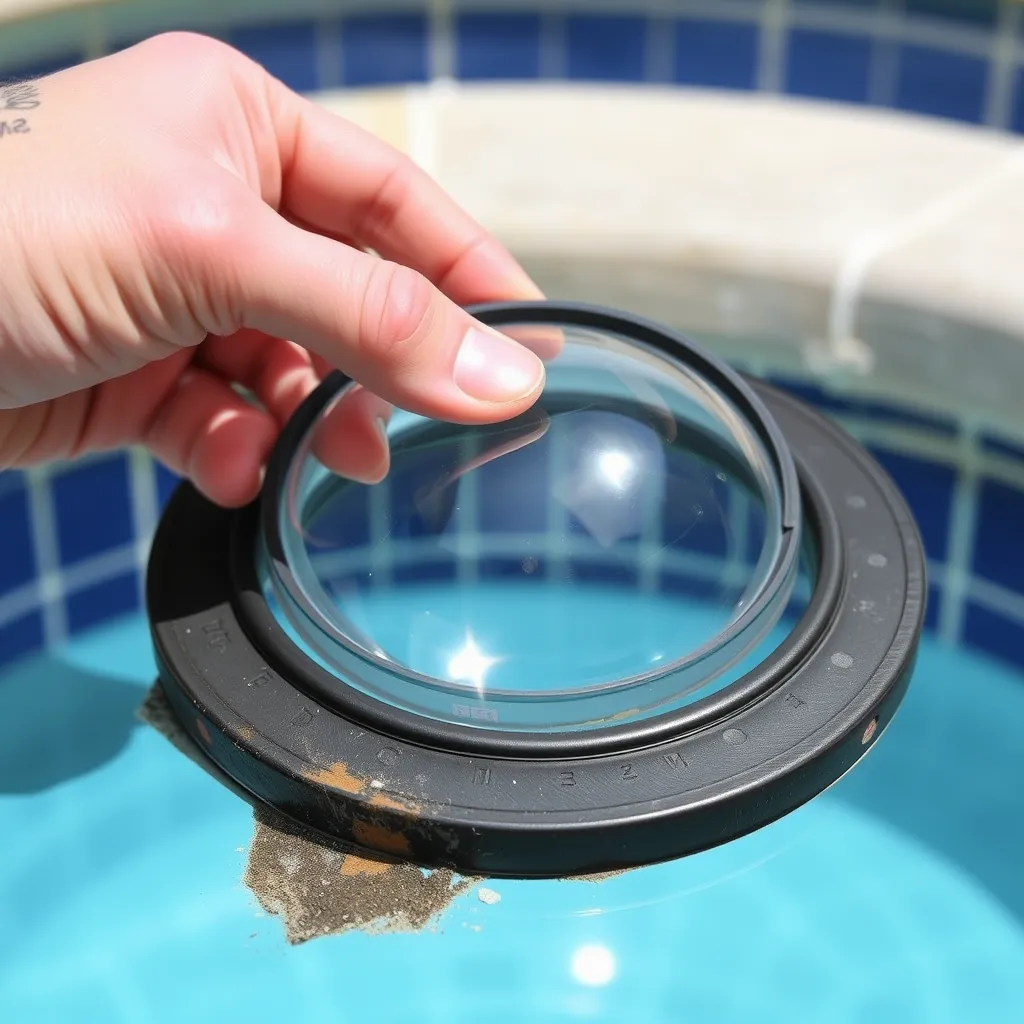
The single most common cause of pool light failure is a compromised gasket. This rubber ring is the only barrier preventing pool water from reaching the electrical socket. Even if the old gasket looks "fine," it has been compressed under high pressure for years and has likely lost its elasticity. Always use a brand-new gasket matched to your specific fixture model.
Before installing the new gasket, clean the rim of the metal housing and the edge of the glass lens thoroughly. Any grit or calcium buildup will create a "micro-gap" that allows water to seep in. Apply a thin, even coat of silicone lubricant to the new gasket. This helps the rubber seat properly and prevents it from bunching or tearing. Place the gasket around the lens, seat the lens onto the housing, and reattach the metal clamp. Tighten the clamp firmly, but avoid over-tightening to the point of warping the metal.
Step 6: Testing for Leaks and Operation
This is a professional secret that prevents double work: perform a "bubble test." Submerge the fully assembled fixture in the pool for about 60 seconds while holding it near the surface. Watch the edges of the lens closely. If you see a steady stream of tiny bubbles escaping, the seal is not watertight. If this happens, take the light back to the deck, dry it off, and re-seat the gasket.
Once you are sure it is watertight, do a quick "flash test." Have someone turn the breaker on for no more than 2-3 seconds to ensure the light illuminates. Caution: Do not leave the light on for more than a few seconds while it is out of the water. Pool lights are designed to be water-cooled; running them dry can shatter the lens or overheat the internal driver.
Step 7: Reinstalling the Fixture
To finish the job, you must coil the service cord back into the niche. The best method is to wrap the cord in large, circular loops around the back of the light housing. This prevents the cord from kinking. Push the coiled cord into the niche, then tilt the light so the bottom tab hooks into the slot at the base. Pivot the top of the light into place and align the hole for the pilot screw.
Hand-tighten the pilot screw until the light is flush with the wall. Do not use a power drill for this step, as you can easily strip the plastic threads. Once secured, turn the breaker back on and enjoy your newly illuminated pool.
Troubleshooting Common Issues
If the light does not turn on after replacement, the issue is likely upstream. Check the GFCI outlet, which is often located near the pool equipment. If the "Reset" button has popped out, the light will not receive power. If the GFCI trips immediately every time you turn on the light, there is a "ground fault," which usually means water has entered the housing or there is a nick in the power cord's insulation.
Another common issue is the "thermal cutoff." Some high-end LED bulbs have internal sensors that shut the light down if it gets too hot. If your light works for ten minutes and then shuts off, ensure the pool water level is high enough to fully submerge the fixture.
When to Call a Professional
While a bulb and gasket swap is a standard DIY task, certain scenarios require a licensed professional. If you need to replace LED pool light fixtures entirely-meaning the cord must be pulled through the underwater conduit-it becomes a more complex job. Pulling new wire requires specialized "fish tapes" and knowledge of potting compounds. Additionally, if the niche itself is pulling away from the pool wall, professional repair is necessary to prevent structural damage.
Conclusion
Replacing an LED pool light is a manageable project when approached methodically. By pulling the fixture from the niche, disconnecting the old unit, installing the new LED, and verifying a watertight seal before reseating, you can complete the swap without the hassle and expense of draining your pool. Always shut off power at the breaker before starting, inspect the cord and gasket carefully, and test the seal thoroughly to prevent moisture damage. If you're ever uncertain about wiring or waterproofing, consult a licensed pool technician. With the right preparation, your pool will be brighter, more energy-efficient, and ready to shine.
Frequently Asked Questions
Q1: Do I need to lower the water level to change the bulb?
A: No. Pool lights are designed with a "service loop" of extra wire coiled behind the fixture. This allows you to remove the mounting screw and pull the entire unit up onto the pool deck while it is still connected.
Q2: What is the difference between a 12V and 120V pool light?
A: A 120V light runs on standard household current, while a 12V light uses a transformer to reduce the voltage. You cannot swap one for the other without changing the power source. Verify your system's voltage by checking the transformer or the old bulb's label.
Q3: Why did my new LED bulb fail after only a week?
A: The most common reason for early failure is water intrusion. If the gasket was not replaced or was installed incorrectly, water will short out the LED driver. Another possibility is a voltage mismatch, such as installing a 12V LED bulb into a 120V fixture.
Q4: Is it worth upgrading to a color-changing LED?
A: LED upgrades are highly recommended because they use about 80-90% less energy than halogen bulbs and last significantly longer. Color-changing options add aesthetic value and allow you to set different moods without needing to change your existing wiring.