How To Dim LED Lights- LedLightsGeek

How To Dim LED Lights- LedLightsGeek

Installation5 min readMarch 28, 2026Abubakar

Dim LED lights with an LED-compatible dimmer, smart bulb, or PWM dimmer. Avoid old incandescent dimmers - they cause flickering.

Dim LED lights using an LED-compatible dimmer switch that replaces your existing wall switch. Standard dimmers designed for incandescent bulbs cause flickering, buzzing, and limited range with LEDs because they have minimum load requirements that LEDs fall below. LED-rated dimmers (trailing-edge or ELV type) handle loads as low as 1 watt, providing smooth, full-range dimming from 100% down to 5-10%. Popular LED-compatible options from Lutron, Leviton, and Legrand cost $15-$30 and install in 15 minutes.

There are three ways to dim LED lights depending on what type of LEDs you are using: a wall dimmer switch for hardwired fixtures, a smart bulb with built-in dimming, or a PWM dimmer for LED strip lights. Each method works differently and requires different equipment.

Method 1: LED-Compatible Dimmer Switch
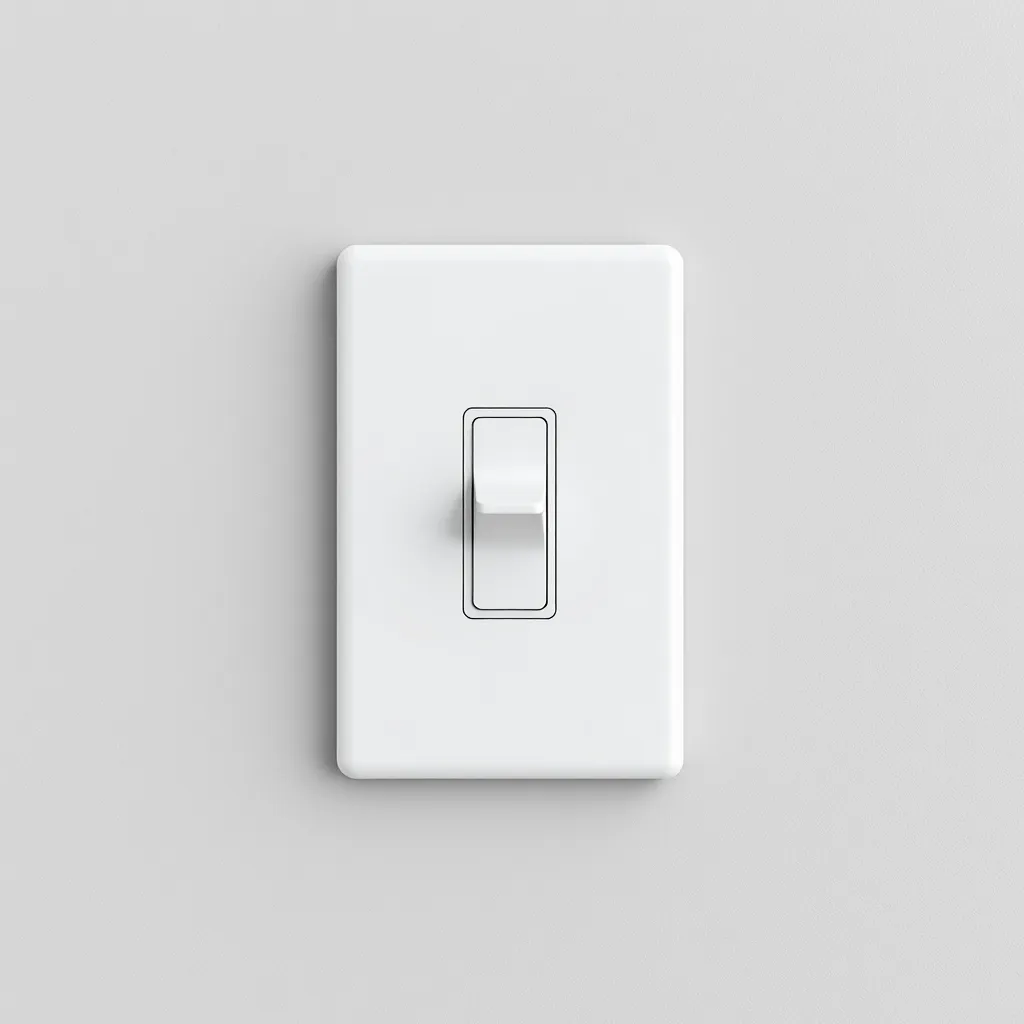
A close up of a modern white LED compatible dimmer switch.

This is the standard method for hardwired LED ceiling lights, recessed lights, and wall-mounted fixtures. Turn off the breaker, remove the old dimmer switch, and install the new LED-compatible dimmer using the same wiring connections (hot, neutral, ground). Most LED dimmers are available in single-pole (one switch controls the light) and 3-way (two switches control the same light) configurations.

When choosing a dimmer, verify that both the dimmer and the LED bulbs are compatible with each other. Most LED manufacturers publish dimmer compatibility lists on their websites. The Lutron Caseta is the most widely compatible LED dimmer on the market and works with virtually every major LED bulb brand. The Leviton Decora SureSlide and Legrand Radiant are also excellent choices with broad compatibility.

Key specifications to check: minimum load (should be 10W or less for LED), maximum load (ensure it handles your total LED wattage), and dimming range (the best LED dimmers go down to 1-5%). Some premium dimmers allow you to set custom low-end and high-end trim levels, which eliminates flicker at the bottom of the range and ensures the dimmer's off position fully extinguishes the light.

Method 2: Smart Bulbs
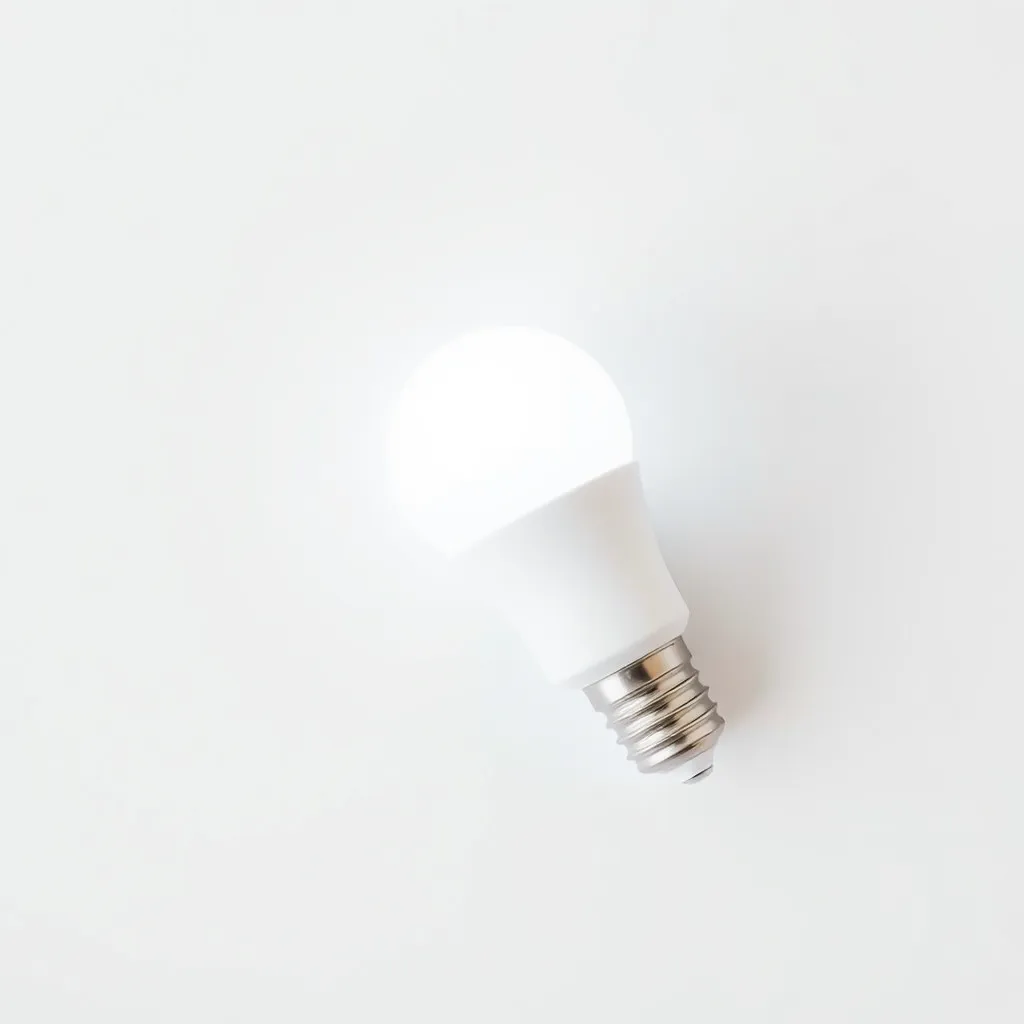
A single frosted white smart LED bulb on a clean background.

Smart LED bulbs have built-in dimming circuitry controlled through a phone app, voice assistant (Alexa, Google Home, Siri), or remote. No special wall dimmer is required - the bulb dims itself in response to software commands. Install the smart bulb in any standard fixture and control it through the app. This method is ideal for renters, table lamps, and anyone who does not want to replace wall switches.

Smart bulbs from Philips Hue, Wyze, LIFX, and others dim smoothly from 100% to 1% and many also offer color temperature adjustment and full RGB color. The Wyze Bulb ($8) is the best budget option. Philips Hue ($15-$50 depending on model) offers the most mature ecosystem with extensive automation options. Important: when using smart bulbs, leave the wall switch permanently ON. Turning off the wall switch cuts power and makes the bulb unresponsive to app commands.

Method 3: PWM Dimmer for LED Strips
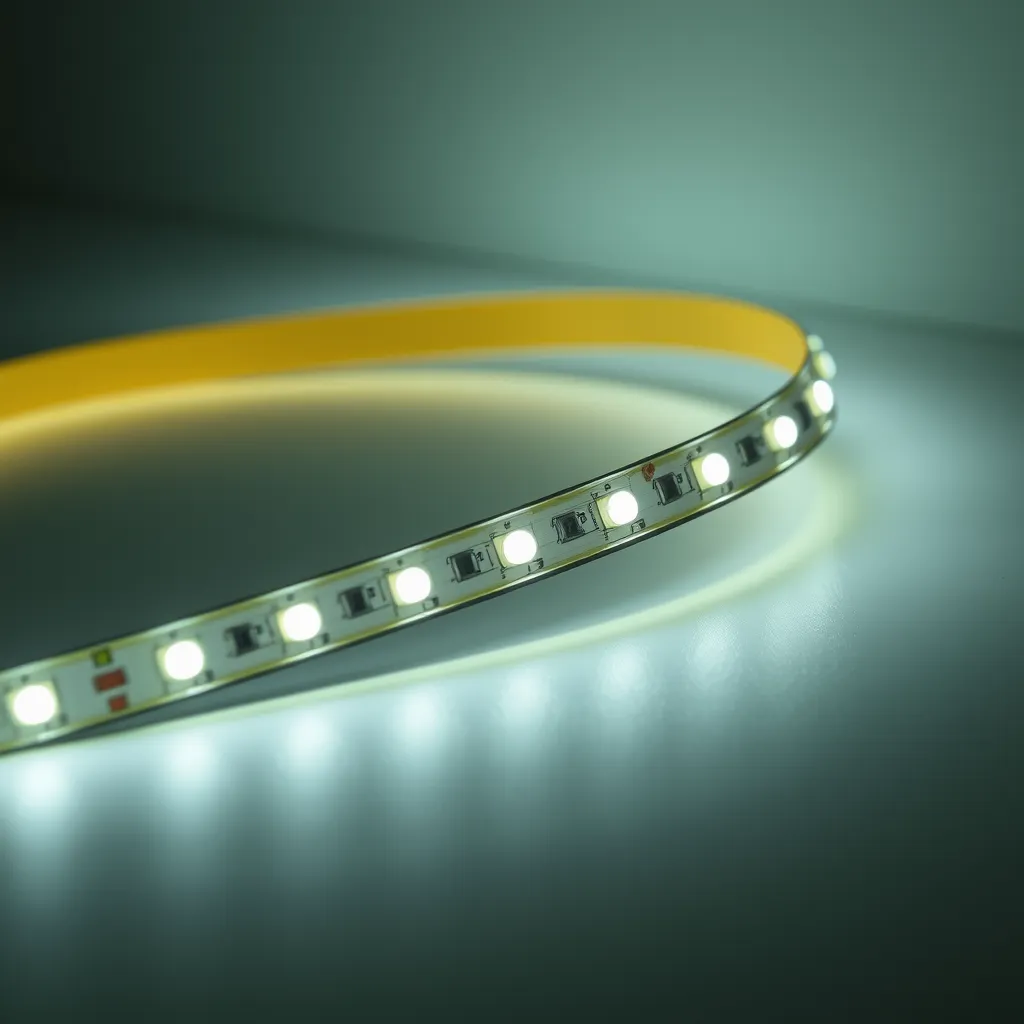
A flexible LED light strip emitting a warm glow on a dark table.

LED strip lights use a different dimming approach than bulbs. A PWM (Pulse Width Modulation) dimmer connects on the DC side between the power supply and the strip. It rapidly switches the strip on and off thousands of times per second. Varying the ratio of on-time to off-time changes the perceived brightness. At 50% duty cycle, the strip appears half as bright. At 10% duty cycle, it appears very dim. The switching frequency (typically 1,000+ Hz) is too fast for the human eye to detect as flickering.

PWM dimmers for LED strips come as knob dials ($5-$10), remote-controlled units ($10-$20), and smart Wi-Fi controllers ($15-$30) with app and voice integration. Never use a standard AC wall dimmer with LED strip lights - strips operate on DC voltage, and an AC dimmer on the supply side causes severe flickering and can damage the power supply. The PWM dimmer must always be installed on the DC output side, between the power supply and the strip.

Common Dimming Problems and Solutions

Problem

Cause

Solution

Flickering at low settings

Dimmer minimum load too high for LED wattage

Install an LED-compatible dimmer with lower minimum load

Buzzing at any setting

Dimmer-bulb incompatibility

Check compatibility list; try different dimmer or bulb brand

Light stays on when dimmer is off

Leakage current from dimmer circuit

Use a dimmer with a true mechanical off, or add a bypass capacitor

Limited dimming range (won't go low enough)

Dimmer's low-end trim is too high

Adjust the dimmer's low-end trim setting if available

Conclusion:

Successful LED dimming is a matter of matching the right technology to your specific hardware. Whether you choose the tactile control of a wall switch, the versatility of smart bulbs, or the precision of PWM controllers for strips, always verify compatibility before purchasing. High-quality components prevent the annoying flicker and buzz that often plague mismatched systems.

As you upgrade your home lighting, consider the atmosphere you want to create in each room. Dimming does more than save energy; it allows you to shift a room's function from a productive workspace to a relaxing retreat instantly. Investing in the right dimming solution ensures your LEDs perform beautifully for years to come.

Frequently Asked Questions

Q1: Can all LED lights be dimmed?

A: No. Only LED bulbs and fixtures labeled "dimmable" are designed for dimming. Non-dimmable LEDs will flicker, buzz, or shut off completely when connected to a dimmer because their internal driver cannot handle the modified power waveform. Check the packaging for a "dimmable" label before purchasing if you plan to use a dimmer circuit. Non-dimmable LEDs typically cost $0.50-$1.00 less per bulb than dimmable versions.

Q2: Why do my LED lights flicker when dimmed?

A: Flickering during dimming is almost always caused by an incompatible dimmer switch. Leading-edge (TRIAC) dimmers designed for incandescent bulbs have minimum load requirements of 40-60W. A single 10W LED falls below this threshold, causing erratic behavior. Replace the dimmer with a trailing-edge or LED-specific model with a minimum load under 10W. Lutron Caseta, Leviton Decora, and Legrand Radiant all work with most dimmable LEDs.

Q3: Is it safe to use an old dimmer with new LED bulbs?

A: Old incandescent dimmers will not damage LED bulbs, but they will likely cause flickering, buzzing, reduced dimming range, and premature driver wear. The LED will still function at full brightness on a non-LED dimmer if the switch is set to maximum. For reliable dimming performance, replace old dimmers with LED-rated models. The $20-$30 cost of a new dimmer is a small investment compared to the frustration of a poorly performing dimming system.
Related Articles

More guides in this category

How to Install a LED Light Bar
Installation

How to Install a LED Light Bar

Step-by-step guide to installing a LED light bar: wiring, relays, mounting, and sealing for safe, reliable off-road performance.

15 min readMay 24
How to Remove a Ballast for LED Lights
Installation

How to Remove a Ballast for LED Lights

Learn to safely remove a ballast for LED lights with our step-by-step guide on tube types, tombstones, wiring, and key mistakes to avoid.

12 min readMay 23
How To Get LED Lights To Stick To Wall
Installation

How To Get LED Lights To Stick To Wall

The frustration of finding a pile of tangled LED strips on the floor a few days after installation is a common experience for many DIY enthusiasts. While most flexible light strips come with a pre-applied adhesive backing, the factory tape is often the bare minimum required for temporary placement. Achieving a permanent, professional-grade bond requires an understanding of surface tension, adhesive chemistry, and mechanical reinforcement. Most consumer-grade light strips utilize a pressure-sensitive adhesive (PSA). Unlike liquid glues that dry and harden, PSAs remain "tacky" and rely on physical pressure to create a bond with the microscopic pores of a surface. When these lights fail, it is rarely because the glue "dried out." Instead, it is usually due to surface contamination, improper curing, or environmental factors like heat and gravity overcoming the adhesive's shear strength. The Science Behind Adhesive Failure To ensure your lighting stays in place, you must first identify the forces working against it. Gravity is the most obvious culprit, but several invisible factors contribute to a failing installation. Surface Energy: Different materials have different "surface energy." Glass and metal have high surface energy, meaning the adhesive spreads and bonds easily. Plastics and certain "scrubbable" paints have low surface energy, causing the adhesive to bead up rather than stick. Outgassing: New paint can release gases for up to 30 days after application. These gases can chemically break down the adhesive bond from behind, causing the strip to peel away even if the surface feels dry to the touch. Thermal Cycling: LED chips generate heat. While 12V or 24V strips are efficient, the circuit board (PCB) still warms up. This heat softens the adhesive, making it more prone to "creep"-a slow sliding motion caused by the weight of the strip. Dust and Oils: Microscopic skin oils or household dust act as a barrier. If the adhesive touches dust before the wall, it bonds to the dust particles instead of the mounting surface. Preparing the Mounting Surface Preparation is 90% of the work. If the wall isn't chemically clean, no amount of pressure will make the lights stay up long-term. Avoid using standard household glass cleaners or multi-surface sprays. These products often contain silicone, waxes, or fragrances that leave a thin film behind, which acts as a release agent for the adhesive. The gold standard for preparation is 90% or higher Isopropyl Alcohol. Higher concentrations are preferred over the common 70% variety because they contain less water and evaporate faster, leaving zero residue. Wipe the area thoroughly using a lint-free microfiber cloth. If the cloth comes away gray or brown, repeat the process until the surface is pristine. Allow the area to air dry for at least five minutes before proceeding. Temperature also plays a critical role. Most adhesives require an application temperature between 60°F and 80°F (15°C - 27°C). If the wall is too cold, the adhesive becomes brittle and won't flow into the surface pores. If it is too hot, the adhesive may become too fluid to hold its own weight during the initial tack. Installation Mechanics for a Lasting Bond The "pressure" in pressure-sensitive adhesive is not a suggestion. To get LED lights to stick to wall surfaces effectively, you must apply firm, consistent force across every inch of the strip. Simply running a finger lightly over the tape is insufficient. Work in small increments of 6 to 12 inches. Peel back a small section of the paper backing, align it carefully, and press down. Use your thumb to apply heavy pressure for at least 10 to 15 seconds on each section. For the best results, use a small rubber wallpaper roller to apply even pressure across the entire length of the strip. This ensures that the adhesive is forced into the texture of the drywall. Avoid "over-stretching" the strip during installation. LED strips are flexible, but pulling them tight creates internal tension. Over time, the strip will try to contract to its original length, creating a constant pulling force on the ends that will eventually cause them to pop off the wall. Choosing the Right Method for Your Wall Type Not all walls are created equal. A strategy that works on a glass mirror will fail on a textured "orange peel" or "knockdown" drywall. Use the following table to determine if your surface requires additional help beyond the factory tape. Surface Material Texture Level Recommended Mounting Strategy Expected Longevity Glass / Mirror None Factory 3M Adhesive only Excellent Smooth Painted Drywall Low Adhesive + Alcohol Prep Good Textured Drywall Medium/High Adhesive + Mounting Clips Poor without clips Unfinished Wood Porous Staples or Screw-in Clips Very Poor (Adhesive fails) Brick / Concrete Rough Construction Adhesive or Channels Impossible with tape Powder-Coated Metal Varies VHB Tape (Very High Bond) Excellent Advanced Reinforcement Techniques When the factory adhesive isn't enough-especially on ceilings or vertical runs-you need mechanical or chemical reinforcements. These methods ensure that even if the adhesive softens due to heat, the strip remains physically tethered to the wall. Mounting Clips and Brackets Small, translucent plastic clips are the most reliable way to prevent "peel-back." These should be placed every 12 to 18 inches. They are particularly vital at the beginning and end of a run, where the weight of the power cable might pull on the strip. If you are renting and cannot use screws, look for adhesive-backed clips that use 3M Command strips, which are designed for clean removal. 3M VHB Tape If the original adhesive has already failed or been contaminated, do not try to "reactivate" it. Instead, scrape it off and apply 3M VHB (Very High Bond) tape. This is a closed-cell acrylic foam tape that is significantly thicker than the standard "tissue" tape found on cheap LEDs. It conforms to surface irregularities and creates a permanent bond that can often replace mechanical fasteners. It is commonly used in the automotive and construction industries for its sheer strength. Aluminum Channels For the most professional appearance and the longest lifespan, use aluminum LED channels (also known as extrusions). These U-shaped tracks are screwed into the wall, and the LED strip is adhered inside the track. This offers three major benefits: Heat Dissipation: The aluminum acts as a heat sink, drawing warmth away from the LEDs and the adhesive, preventing thermal degradation. Protection: A plastic diffuser cover protects the LEDs from dust and physical damage while softening the light to eliminate "hot spots." Perfect Alignment: It is much easier to mount a rigid metal track in a perfectly straight line than a floppy flexible strip. The Impact of Environment and Heat Environmental factors can significantly degrade adhesive over time. In kitchens, airborne grease can settle on the edges of the strip, slowly wicking underneath and dissolving the bond. In bathrooms, high humidity can cause moisture to penetrate the adhesive layer. If you are installing lights in these areas, look for IP65-rated strips which are coated in silicone. Note that these strips are heavier than non-waterproof ones, making mechanical clips mandatory rather than optional. Furthermore, consider the power draw of your lights. High-density strips (e.g., 120 LEDs per meter) generate significantly more heat than standard density (30 or 60 LEDs per meter). If your strip feels hot to the touch after 30 minutes of use, the adhesive is likely to fail within months unless it is mounted in an aluminum channel or reinforced with high-temperature hot glue dots every few inches. Safe Removal Without Wall Damage Inevitably, you may need to move or replace your lights. Ripping them off the wall will likely take the top layer of drywall paper or paint with it. To remove them safely, use a hair dryer on a medium-heat setting. Move the hair dryer back and forth over a 12-inch section for about 30 seconds. The heat will soften the acrylic polymers in the tape, allowing you to peel it back slowly at a 45-degree angle. If any sticky residue remains, do not scrub it with a dry cloth, as this will only spread the mess. Apply a small amount of citrus-based adhesive remover or more isopropyl alcohol to a rag and let it sit on the residue for a minute before wiping it away. For stubborn spots on non-porous surfaces, a plastic scraper or an old credit card can be used to gently lift the softened glue. Conclusion: Keeping LED strips firmly mounted is less about the lights themselves and more about respecting the chemistry and physics behind the adhesive. The factory tape on most strips is only a starting point - its success depends entirely on how well you prepare the surface, how much pressure you apply, and whether the wall material is suited to a pressure-sensitive bond in the first place. The key takeaways are straightforward: clean every mounting surface with 90%+ isopropyl alcohol, apply firm and sustained pressure during installation, and match your mounting method to your wall type. Smooth, non-porous surfaces will hold with adhesive alone, but textured drywall, ceilings, humid environments, and high-density strips almost always require reinforcement through mounting clips, VHB tape, or aluminum channels. Ultimately, a "permanent" LED installation is a system, not a single product. By combining proper surface prep, correct application technique, and the right mechanical backup for your environment, you can transform LED strips from a temporary novelty into a clean, lasting feature of your space - and avoid the all-too-familiar disappointment of finding them in a tangled heap on the floor. Frequently Asked Questions Q1: Can I use hot glue to keep my LED strips up? A: Yes, but with caution. Use a low-temperature glue gun to avoid damaging the delicate circuitry or melting the waterproof coating of the strip. Apply small dots of glue every 6 inches along the side of the strip rather than directly underneath it. This provides a "mechanical" bridge between the strip and the wall without interfering with the primary adhesive bond. Q2: How long should I wait before turning the lights on? A: Adhesive bonds improve over time. While the strip may feel secure immediately, it typically takes 24 hours for the bond to reach 90% strength and up to 72 hours for a full cure. It is best to keep the lights off during the first 24 hours to prevent heat from softening the adhesive before it has fully "wetted" the surface. Q3: Will LED strips stick to a popcorn ceiling? A: No. The surface area on a popcorn or highly textured ceiling is too small for the adhesive to grab. For these surfaces, you must use screw-in mounting clips or install a flat wooden or plastic trim piece first to provide a smooth mounting surface for the lights.

15 min readMay 20