A standard mirror serves a singular purpose, but an LED-integrated mirror transforms a functional object into a high-performance architectural feature. Whether for a bathroom renovation or a dedicated makeup vanity, building your own allows for precise control over light quality, color temperature, and brightness-features often lacking in mass-produced retail models.
The primary difference between a professional-grade DIY build and a basic project lies in the execution of the light diffusion and the choice of components. This guide details the technical requirements and assembly methods for two distinct styles: the ambient backlit "halo" mirror and the high-output front-lit vanity mirror.
Core Components and Technical Specifications
Before purchasing materials, calculate the total wattage requirements to ensure your power supply can handle the load without overheating. Most high-density strips consume between 10 and 18 watts per meter.
Component | Recommended Specification | Purpose |
|---|---|---|
LED Strip Type | COB (Chip on Board) or 120+ LEDs/m | Eliminates "spotting" or visible dots. |
Color Temperature | 3000K (Warm) or 4000K (Neutral) | 3000K for ambiance; 4000K for grooming. |
CRI (Color Rendering Index) | 90+ CRI | Ensures skin tones and makeup look natural. |
Power Supply (Driver) | 12V or 24V DC (Constant Voltage) | Matches the voltage of your chosen strip. |
Aluminum Channels | U-shape with frosted diffuser | Protects LEDs and smooths light output. |
Adhesive/Mounting | Neutral cure silicone or Z-Clips | Standard adhesives can corrode mirror backing. |
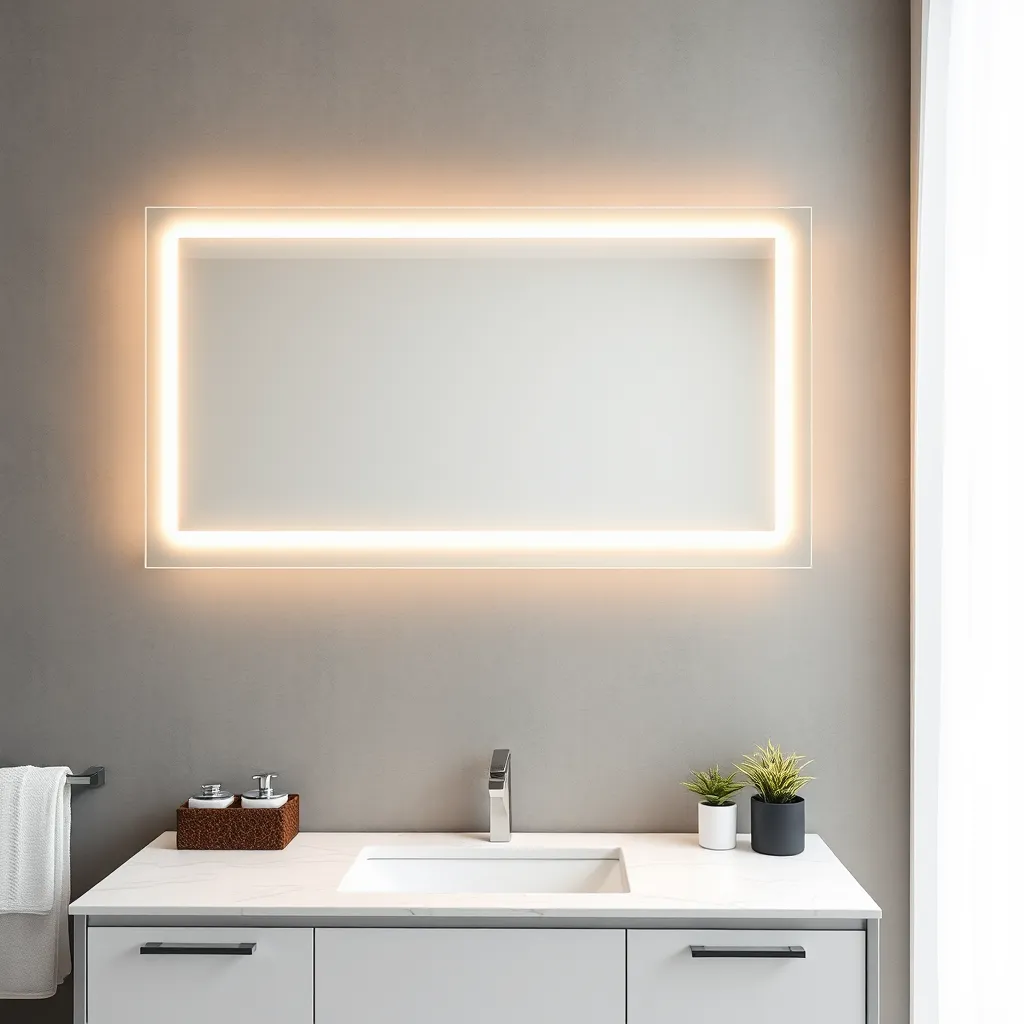
The Backlit Halo Effect: Ambient Lighting
The backlit design is preferred for accent lighting and creating depth in a room. The light reflects off the wall surface, creating a soft glow that outlines the mirror's silhouette. This method is technically simpler but requires careful attention to the distance between the mirror and the wall.
Step 1: Frame Construction and Offset
A common mistake is mounting the lights directly to the back of the glass without an offset. To achieve a clean glow, you must create a "standoff" distance of at least 1 to 1.5 inches from the wall.
Construct a rectangular inner frame using 1x2 timber or aluminum square tubing. This frame should be roughly 2 to 4 inches smaller than the mirror's dimensions on all sides. This "inset" ensures the light source remains hidden from side views while allowing the light to spread outward.
Step 2: Surface Preparation
The silvering on the back of a mirror is delicate. Before attaching your frame or LED strips, clean the area with isopropyl alcohol. Avoid using heavy household cleaners that contain ammonia, as these can cause "black edge" corrosion over time. Use a neutral-cure silicone or high-strength double-sided VHB tape to bond your inner frame to the back of the glass.
Step 3: Managing the LED Layout
Apply the tape-backed strips to the outer perimeter of the inner frame, facing outward toward the edges of the mirror.
When navigating corners, do not fold the strip at a sharp 90-degree angle, as this can crack the internal copper traces. Instead, create a small "ribbon loop" at the corner or use clip-on 90-degree connectors. For a 24-inch by 36-inch mirror, you will use approximately 10 feet of lighting. If using a strip that draws 14.4W/m, your total draw will be roughly 44 watts.
Step 4: Diffusion and Wall Distance
If your wall has a high-gloss finish, you may see individual LED reflections. To prevent this, mount the LEDs inside a shallow aluminum channel with a frosted cover. This extra step ensures that the light hitting the wall is perfectly uniform.
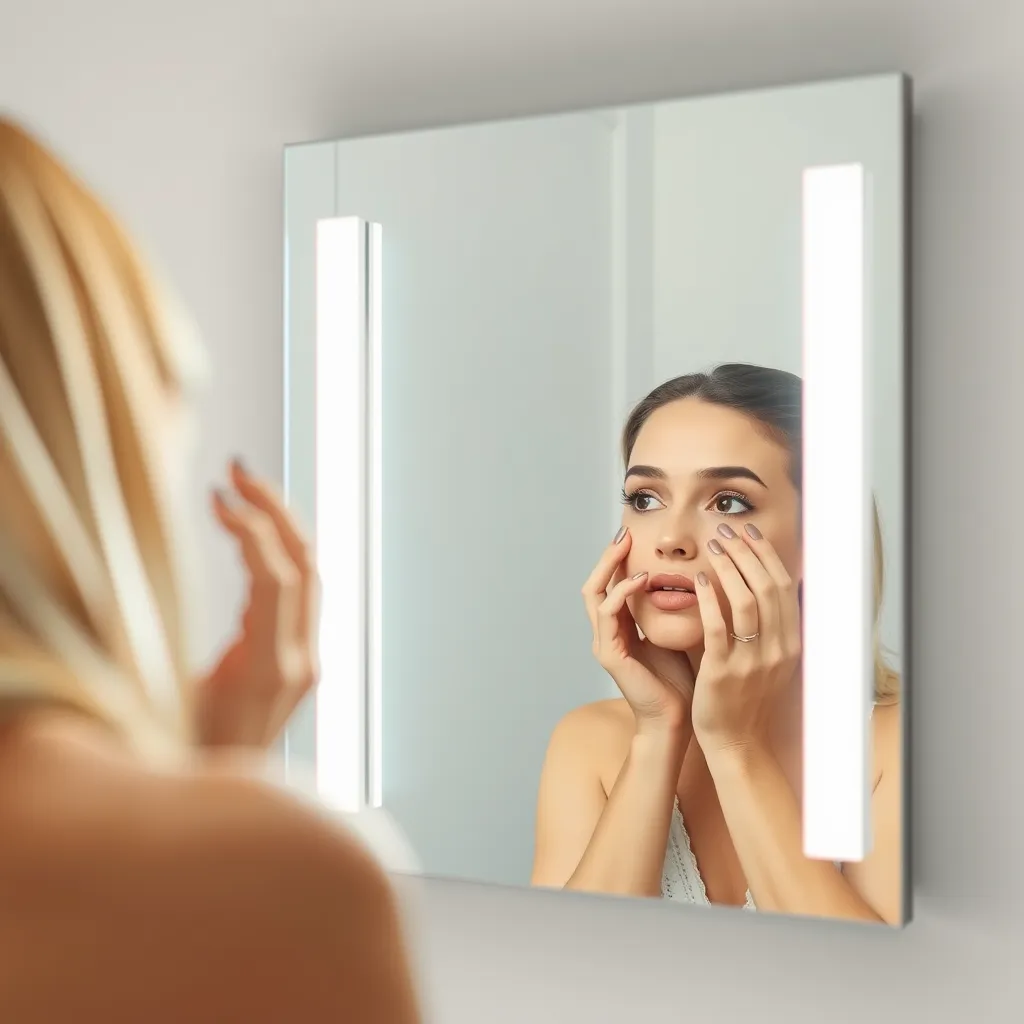
Front-Lit Vanity Design: Task Lighting
For tasks like shaving or applying makeup, light must be directed toward the face rather than the wall. This requires a different mechanical approach, often involving a "sandwiched" frame or an etched glass border.
The Sandwiched Frame Method
This is the most accessible DIY version for front-lighting. You place the mirror inside a slightly larger external frame. A recessed channel is built into the frame's inner edge, facing the user.
Use an aluminum U-channel with a 45-degree angled mounting bracket.
Install the channel around the inner perimeter of the mirror frame.
Insert high-density COB strips into the channel.
Snap on a frosted diffuser cover.
The 45-degree angle is critical; it directs light toward the center of the mirror (where your face will be) rather than straight out into the room, which can cause glare.
The Etched Border Method (Advanced)
Professional LED mirrors often have a "frosted" strip of glass where the light shines through from behind. You can replicate this by using a chemical etching cream or a sandblaster to remove the silvering from the back of the mirror in a 1-inch border.
Apply a stencil or painter's tape to define the border.
Apply etching cream to the exposed back surface.
Once the silvering is removed, the glass becomes translucent.
Mount the LEDs directly behind this translucent section.
Electrical Wiring and Power Management
Properly sizing your power supply is a safety requirement. A power supply should never be run at 100% capacity for extended periods. Follow the "80% Rule": if your strips require 40 watts of power, use a driver rated for at least 50 watts.
Calculating Amperage
If you are using a 12V system, use the following formula: Total Watts / 12 = Required Amps. For a 60-watt load: 60 / 12 = 5 Amps.
Wiring for Bathroom Safety
If installing in a bathroom, the power supply (transformer) should ideally be located in a dry area, such as inside a vanity cabinet or behind a wall access panel. If the driver must stay behind the mirror, ensure it is an IP67-rated waterproof unit.
Use 18-gauge or 20-gauge low-voltage wire to connect the strips to the driver. If the distance between the mirror and the driver is more than 10 feet, upgrade to 16-gauge wire to prevent voltage drop, which causes the lights to look dimmer at the end of the run.
Mounting and Final Assembly
A mirror with an added frame and power components is significantly heavier than a standard sheet of glass. Do not rely on simple adhesive pads.
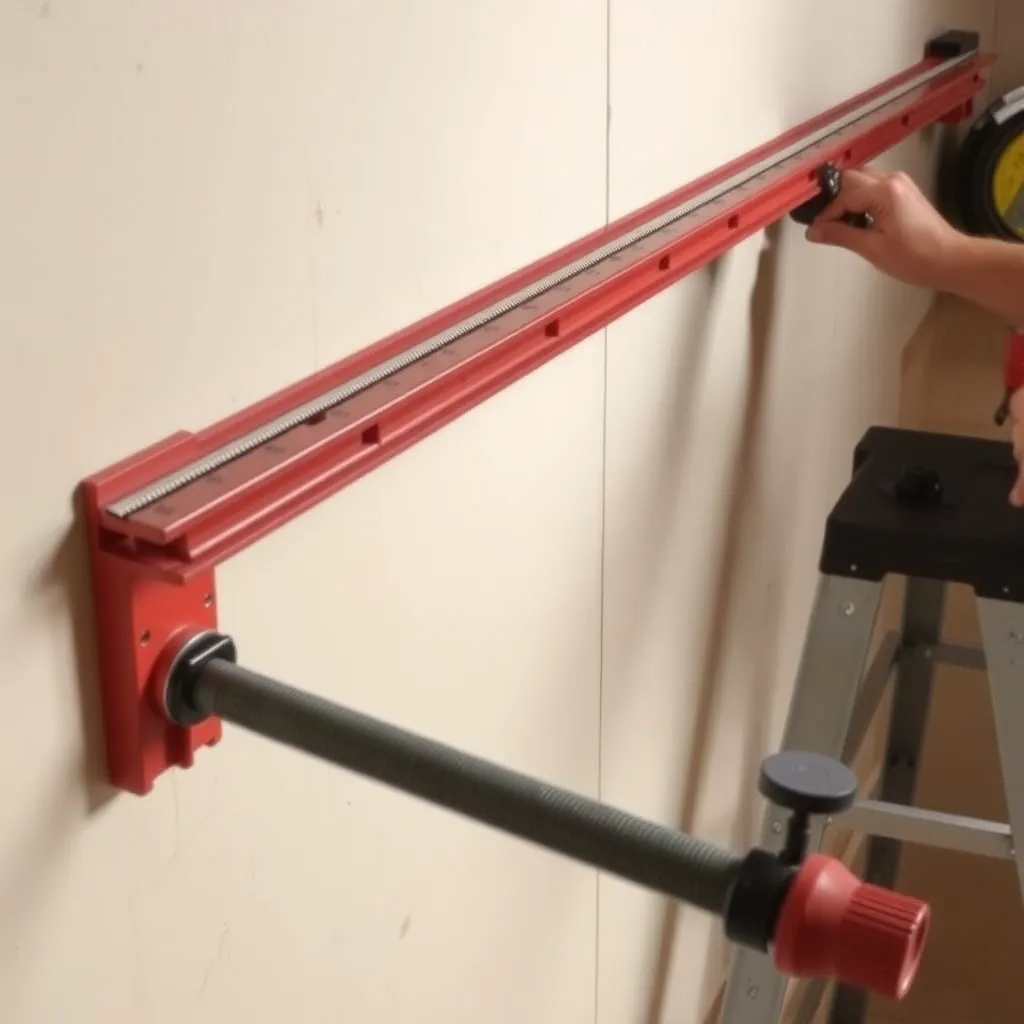
Z-Bars (French Cleats): These are the gold standard for heavy mirrors. One bar is screwed into the wall studs, and the matching bar is attached to the mirror's inner frame. They allow for slight horizontal adjustments and provide a very secure hold.
Cable Management: Use adhesive wire clips to secure any loose leads behind the mirror. A loose wire hanging in front of an LED will cast a sharp, distracting shadow on the wall.
The Switch: For a seamless look, wire the driver to a wall switch. If that isn't possible, you can install a small "touch dimmer" sensor into the side of the mirror frame or use a motion sensor mounted underneath the mirror for hands-free operation.
Common Mistakes to Avoid
Using 6000K "Cool White" LEDs: While they look bright, cool white LEDs often have a high blue content that makes skin tones look sickly and gray. Stick to 3000K-4000K for the most flattering results.
Neglecting CRI: Low-CRI lights (below 80) distort colors. If you are applying makeup, a low-CRI light can lead to "color mismatching" where your makeup looks different once you step outside into natural sunlight.
Exposing the Strips to Steam: In a bathroom, steam will eventually degrade the adhesive and the copper on standard IP20 strips. Always use coated (IP65) strips or house them inside a sealed aluminum channel.
Inadequate Ventilation: LEDs generate heat. If you seal the back of the mirror completely, the heat has nowhere to go, which shortens the lifespan of the LEDs. Ensure there is at least a small gap at the top and bottom of your frame for air to circulate.
Frequently Asked Questions
How do I hide the power cord?
The cleanest method is to install a recessed "clock outlet" behind the mirror. This allows the power brick to sit inside the wall cavity so the mirror can hang flush. If you are renting, use a flat white power cable and run it down a corner, securing it with paintable cable trunking.
Can I use a battery pack instead of a plug?
While possible, it is not recommended for mirrors. A standard 2-meter high-density strip will drain a pack of AA batteries in less than two hours. If you must go cordless, use a large 12V lithium-ion rechargeable battery, but be prepared to recharge it frequently.
What is the difference between 12V and 24V strips for this project?
For most home mirrors, 12V is standard and easier to find. However, 24V is superior for very large mirrors (over 6 feet) because it suffers less from voltage drop, ensuring the light is just as bright at the end of the strip as it is at the beginning.
Can I make the lights turn on automatically?
Yes. You can install a PIR (Passive Infrared) motion sensor on the underside of the mirror frame. When you walk into the bathroom or reach toward the vanity, the lights will trigger. Ensure the sensor has an adjustable "time-out" so the lights don't turn off while you are standing still.