How To Install LED Lights Inside Car

How To Install LED Lights Inside Car

Installation15 min readMay 6, 2026Abubakar

Install LED lights inside your car by mounting 12V LED strips under the dashboard and seats, connecting to the fuse box or cigarette lighter adapter. Takes 30-60 minutes.

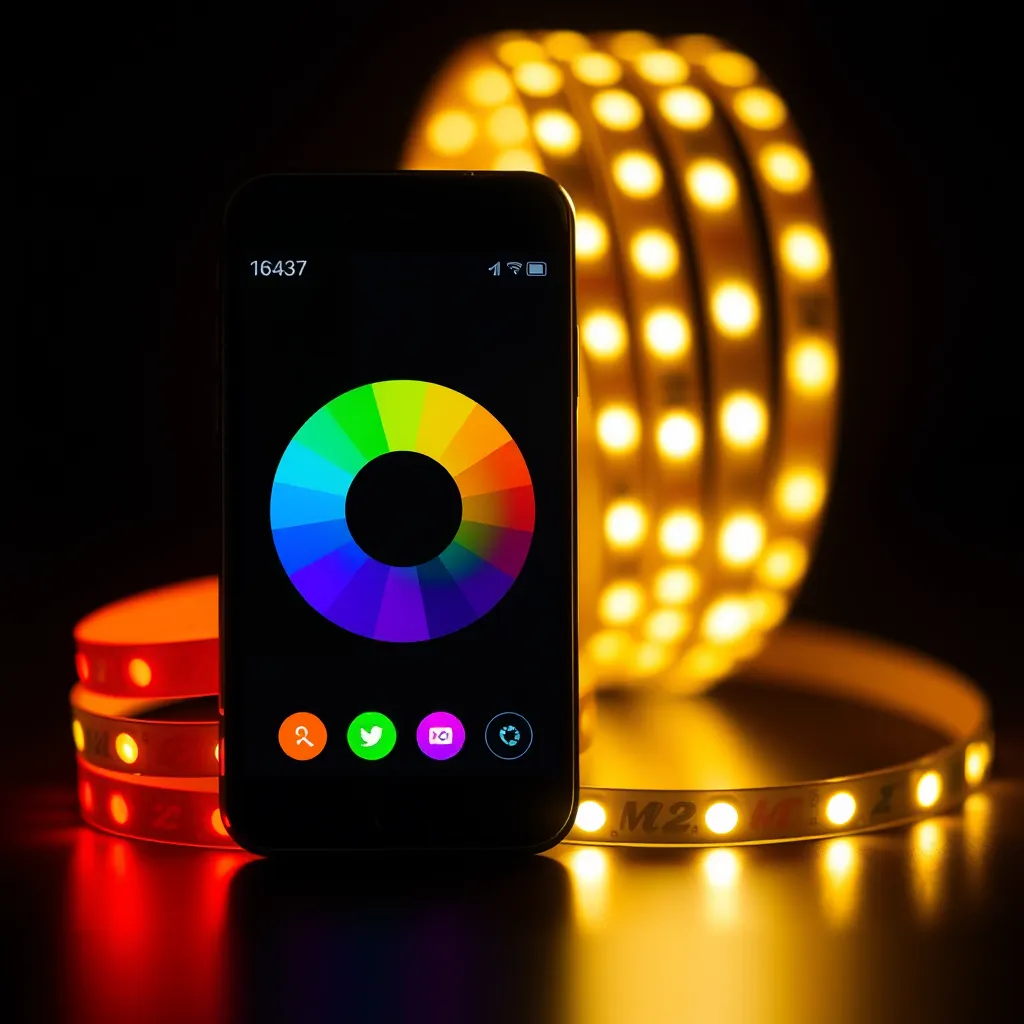
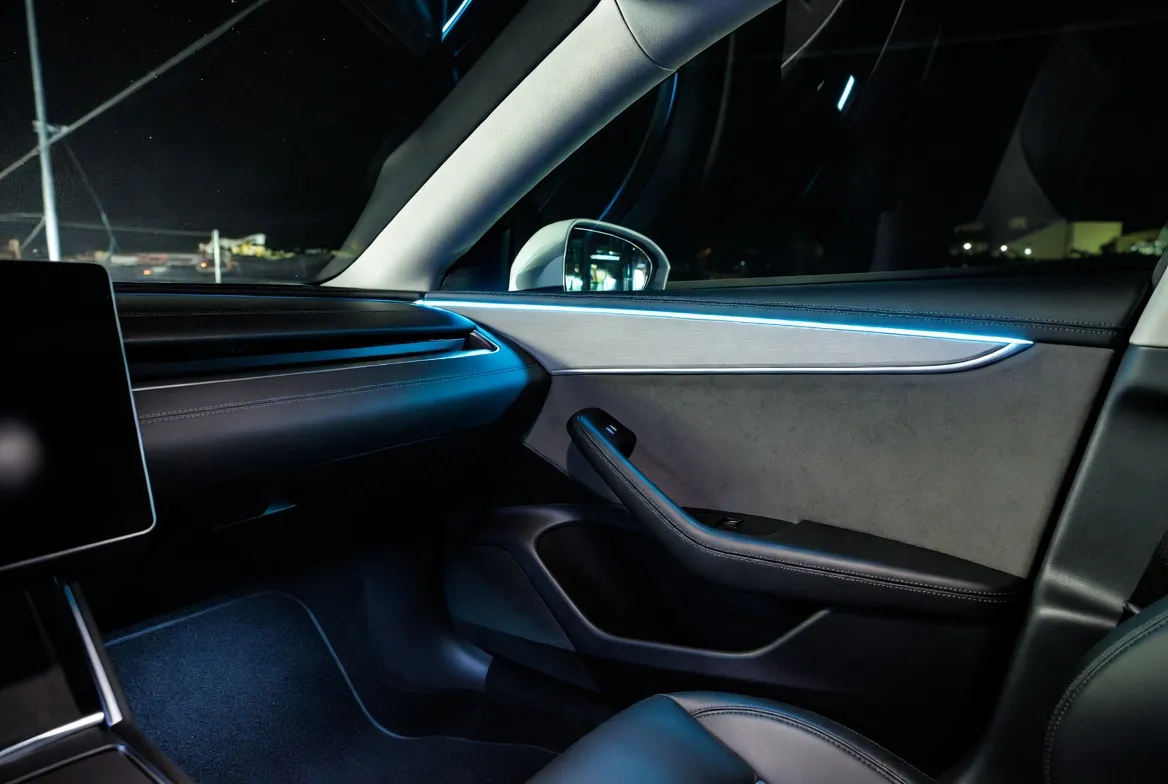
Adding ambient lighting to a vehicle cabin transforms the driving experience from a standard commute into a personalized environment. While many modern luxury vehicles include integrated accent lighting from the factory, older models or base trims often lack this feature. Installing aftermarket kits is a straightforward project that bridges this gap, providing a sophisticated look without requiring professional electrical skills.

Choosing the Right Lighting Hardware
Choosing the Right Lighting Hardware

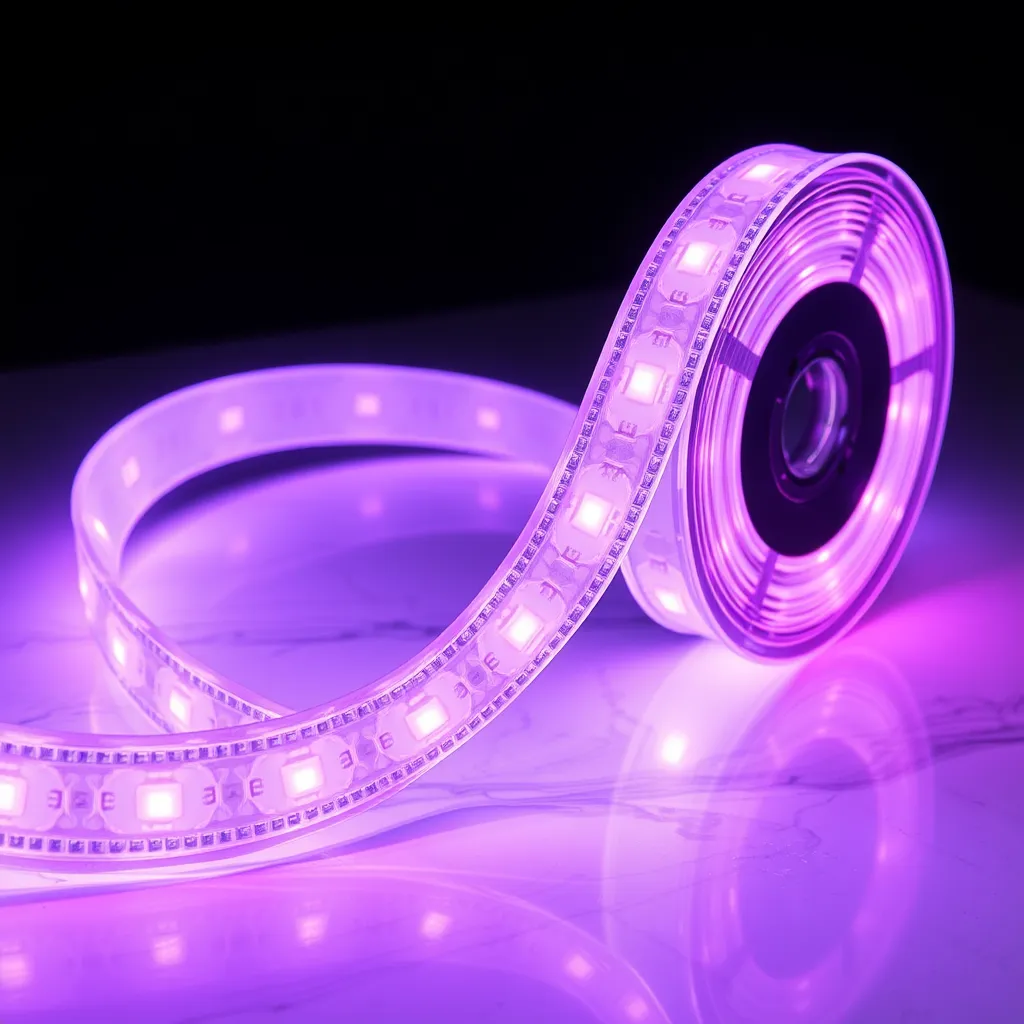
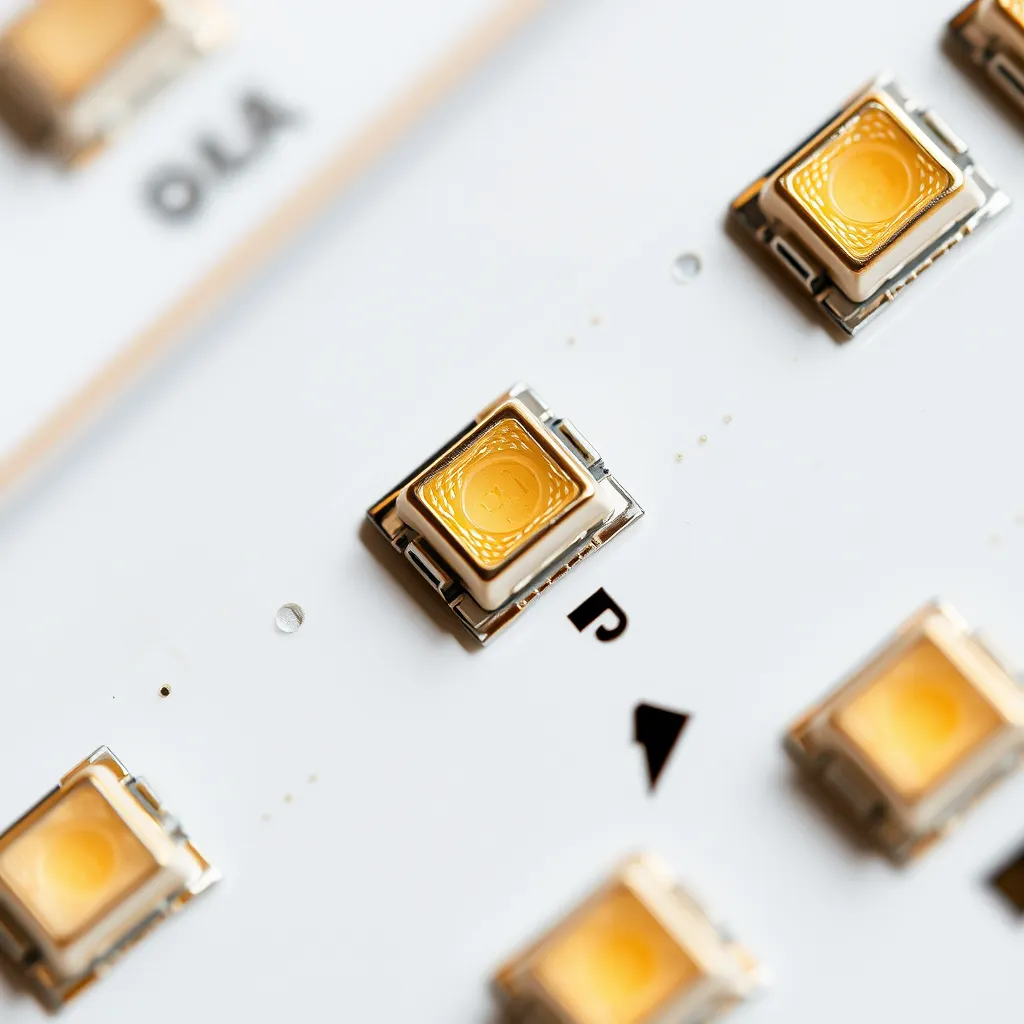
Before starting the installation, selecting the correct type of lighting is critical for both aesthetics and longevity. Most automotive interior kits use flexible strips containing SMD (Surface Mounted Device) LEDs. The two most common types are 5050 and 2835 chips. For interior use, 5050 chips are preferred because they house three light-emitting diodes in a single housing, allowing for better color mixing and higher brightness.

Another decision involves choosing between standard RGB and RGBIC (Addressable) strips. Standard RGB strips change the entire strip to one color at a time. RGBIC strips contain an integrated circuit (IC) that allows different segments of the same strip to display different colors simultaneously, enabling "chasing" or "rainbow" effects.

Key Specifications to Consider

Feature

Standard RGB

RGBIC (Addressable)

Color Capability

Single color at a time

Multiple colors simultaneously

Cut Points

Usually every 2-3 inches

Often cannot be cut without breaking the circuit

Power Draw

Approx. 1.2A - 1.5A per 4-strip kit

Approx. 1.5A - 2.0A per 4-strip kit

Best Use Case

Clean, single-color ambient glow

Dynamic lighting and "show" modes

Essential Tools and Materials

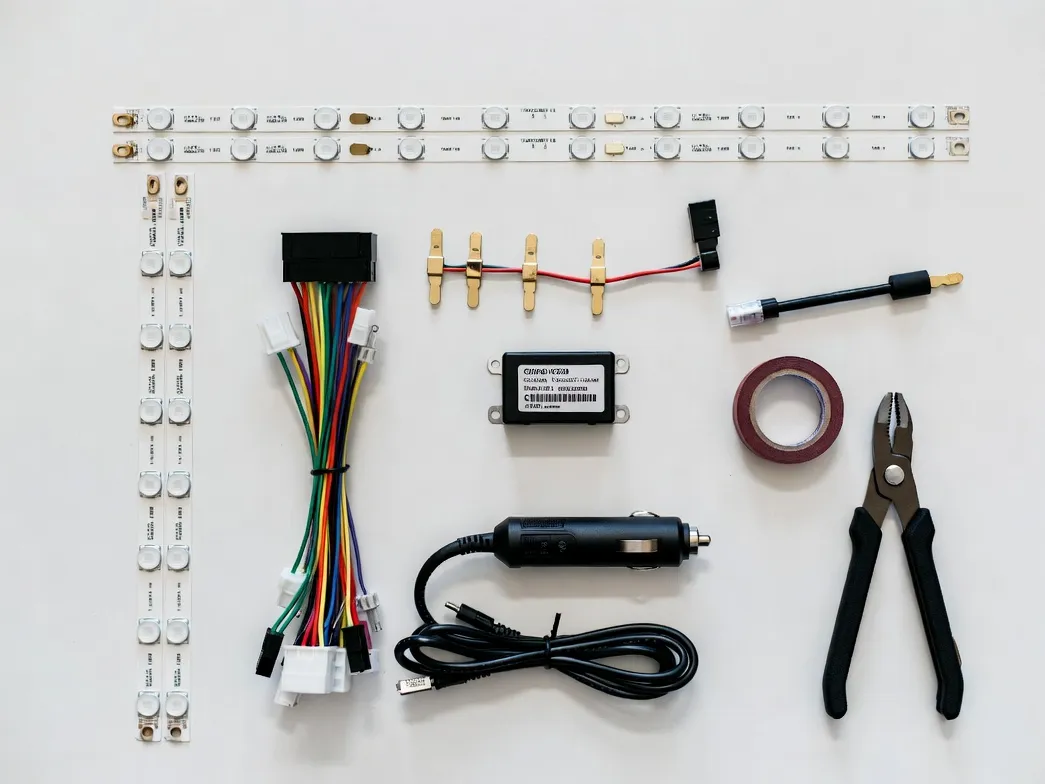
A successful installation relies on preparation. While most kits claim to be "plug-and-play," having a few additional supplies ensures the strips stay attached and the wires remain hidden.

  • LED Interior Kit: Typically a 4-piece set with 9-inch or 12-inch segments.

  • Isopropyl Alcohol (70% or higher): Essential for removing interior protectants that prevent adhesive from sticking.

  • Plastic Trim Removal Tool: Helps tuck wires behind panels without scratching the plastic.

  • Heavy-Duty Zip Ties: Specifically 4-inch black ties for securing wires under seats.

  • Adhesion Promoter (Optional): Recommended for textured plastics where standard 3M tape struggles.

  • Multimeter or Test Light: Only required if you plan to hardwire the system into the fuse box.

Strategic Placement for Indirect Lighting
Strategic Placement for Indirect Lighting

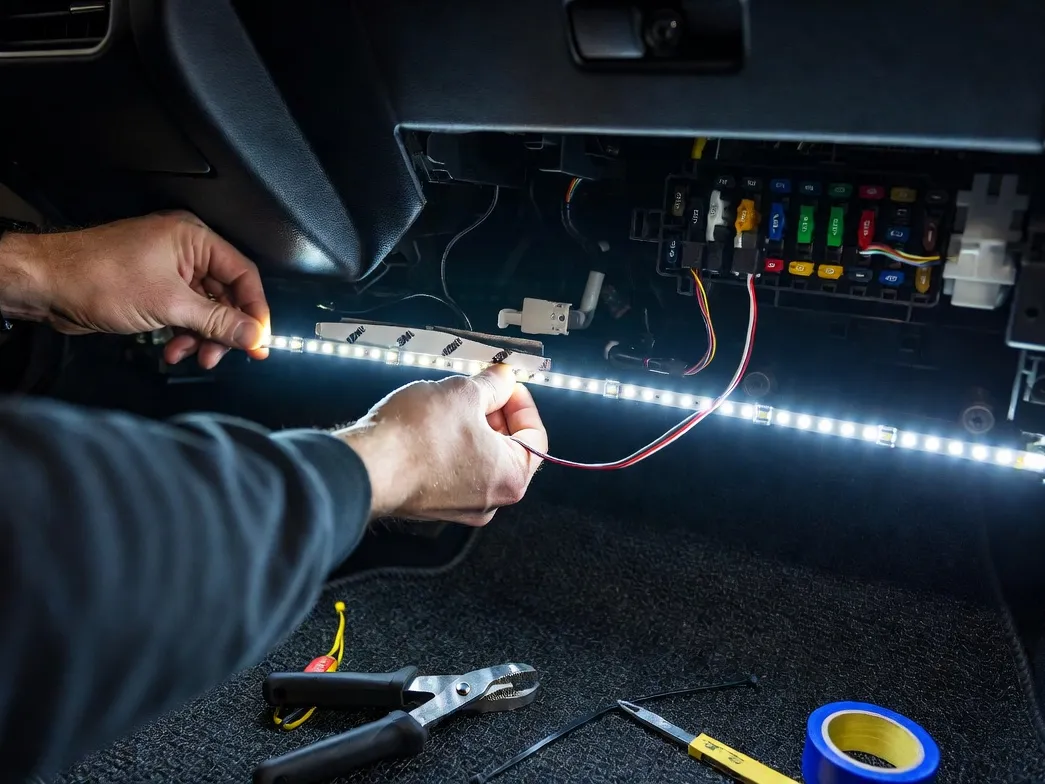
The goal of a high-quality installation is to see the glow, not the light source. Direct view of the LED chips can be distracting and looks "cheap." Aim for indirect lighting where the LEDs face downward, reflecting light off the floor mats or the underside of the seats.

Front Footwells

Mount the strips on the underside of the dashboard. On the driver's side, ensure the strip and its wiring are well clear of the brake, gas, and clutch pedals. Use zip ties to secure the wire to existing factory looms high up in the footwell. On the passenger side, there is usually a plastic panel under the glovebox that provides a perfect flat surface.

Rear Footwells

The best location for rear lighting is the underside of the front seats. However, seats move forward and backward. When mounting here, leave enough "slack" in the wiring to allow the seat to move through its full range of travel without tensioning the cable. Attach the strips to the metal seat frame using zip ties rather than relying on adhesive, as the fabric or carpet underside of a seat will not hold tape.

Step-by-Step Installation Process

Once the layout is planned, follow these steps to ensure a permanent and clean result.

1. Surface Preparation

Clean the mounting areas thoroughly with isopropyl alcohol. Car interiors are often treated with silicone-based cleaners that make surfaces extremely slick. If you skip this step, the strips will likely fall off within 24 hours due to heat and vibration.

2. Mounting the Strips

Peel the backing from the adhesive tape and press the strip firmly against the surface for at least 30 seconds. If the surface is curved or textured, apply a small amount of adhesion promoter first. For under-seat installations, thread zip ties through the ends of the strip and around a solid part of the seat frame.

3. Routing the Wires

Run the wires from the strips toward the center console. Use the trim removal tool to pry the edge of the plastic panels slightly and tuck the wire inside. For the rear seats, run the wires under the floor mats or along the plastic door sill protectors. Keep the control box hidden but accessible.

Powering Your Setup: Two Methods

How you provide electricity to the system determines how "factory" the installation looks.

Method A: The 12V Accessory Plug (Cigarette Lighter)

This is the fastest method. Most kits include a 12V adapter with a built-in switch. Simply plug it into the car's power port.

  • Pros: No permanent changes to the car; easily removable for leased vehicles.

  • Cons: Occupies a power port; visible wires near the plug.

Method B: Hardwiring to the Fuse Box

For a professional look, you can "tap" into the vehicle's fuse box. This hides all wires and allows the lights to turn on automatically with the car.

  1. Locate the interior fuse box (usually under the dash or behind a side panel).

  2. Use a multimeter to find a "switched" fuse-one that only has power when the key is in the 'ACC' or 'ON' position.

  3. Use an "Add-a-Circuit" fuse tap. Insert the original fuse into the tap, add a new 5A fuse for the LEDs, and crimp the LED power wire to the tap.

  4. Connect the ground wire (black) to a clean, unpainted metal bolt on the car's chassis.

Configuring Control and Safety

Most modern kits use a smartphone app via Bluetooth. This allows for infinite color selection and brightness dimming.

A note on brightness: While bright lights look great in photos, they can be dangerous while driving at night. High interior light levels cause the pupils to constrict, significantly reducing your ability to see the dark road ahead. Always dim the interior accents to a low level (around 10-20% brightness) during nighttime driving.

Music Sync Mode: Many controllers feature a built-in microphone that pulses the lights to the beat of the music. If you use this feature, ensure the control box is not buried too deep behind sound-dampening material, or the microphone will struggle to pick up the audio.

While interior lighting is generally legal, there are specific rules to follow to avoid a "fix-it" ticket:

  • No Flashing Lights: In most jurisdictions, flashing or strobing lights while the vehicle is in motion is prohibited.

  • Color Restrictions: Avoid displaying solid red or blue light that is visible from the front or rear windows, as these are reserved for emergency services.

  • Driver Visibility: The lights must not be positioned in a way that creates a glare on the windshield or side mirrors.

Troubleshooting Common Issues

If the lights fail to turn on, check the following in order:

  1. The Plug: Ensure the 12V adapter is pushed all the way in.

  2. The Fuse: If hardwired, check both the original fuse and the new fuse in the tap.

  3. Ground Connection: A loose ground wire is the most common cause of flickering. Ensure the ground bolt is tightened against bare metal.

  4. App Connectivity: Ensure Bluetooth is enabled and you are within 10 feet of the control box.

Conclusion:

Once your installation is complete, evaluate the lighting from the driver's seat during a nighttime drive. The primary goal is to enhance the cabin's atmosphere without creating distracting glare on the windows or windshield. If the glow is too intense, use your controller to dim the brightness to a level that feels comfortable and safe for long-distance travel.

Regular maintenance will keep your setup looking professional for years. Car interiors experience significant temperature swings and constant vibration, which can eventually weaken even the strongest adhesives. Every few months, quickly inspect the strips and wires to ensure nothing has sagged near the pedals or passenger foot area, and re-secure any loose segments with a fresh zip tie or a dab of automotive-grade adhesive.

Frequently Asked Questions

Q1: Will these lights drain my battery if I leave them on?

A: If you use a "switched" power source, they cannot drain the battery because they receive no power when the car is off. If connected to a "constant" power source, a standard kit could drain a typical car battery in about 24-48 hours if left on at full brightness.

Q2: Can I cut the strips if they are too long?

A: Standard RGB strips usually have copper pads marked with a "scissor" icon where they can be safely cut. However, RGBIC (addressable) strips often cannot be cut without disabling the remaining LEDs or causing a controller error.

Q3: Is it safe to stick these to the carpet?

A: Adhesive tape will not stick to carpet effectively. If you must mount a strip to a carpeted surface, use "hook and loop" (Velcro) strips. The "hook" side will often grab the car's carpet directly, providing a secure mount.

Q4: Do I need an electrician to install LED lights inside a car?

A: No. For the cigarette lighter method, no electrical knowledge is required. For the hardwire method, you only need to understand how to use a fuse tap and a ground bolt. Both are considered entry-level DIY tasks.
Related Articles

More guides in this category

How to Install a LED Light Bar
Installation

How to Install a LED Light Bar

Step-by-step guide to installing a LED light bar: wiring, relays, mounting, and sealing for safe, reliable off-road performance.

15 min readMay 24
How to Remove a Ballast for LED Lights
Installation

How to Remove a Ballast for LED Lights

Learn to safely remove a ballast for LED lights with our step-by-step guide on tube types, tombstones, wiring, and key mistakes to avoid.

12 min readMay 23
How To Get LED Lights To Stick To Wall
Installation

How To Get LED Lights To Stick To Wall

The frustration of finding a pile of tangled LED strips on the floor a few days after installation is a common experience for many DIY enthusiasts. While most flexible light strips come with a pre-applied adhesive backing, the factory tape is often the bare minimum required for temporary placement. Achieving a permanent, professional-grade bond requires an understanding of surface tension, adhesive chemistry, and mechanical reinforcement. Most consumer-grade light strips utilize a pressure-sensitive adhesive (PSA). Unlike liquid glues that dry and harden, PSAs remain "tacky" and rely on physical pressure to create a bond with the microscopic pores of a surface. When these lights fail, it is rarely because the glue "dried out." Instead, it is usually due to surface contamination, improper curing, or environmental factors like heat and gravity overcoming the adhesive's shear strength. The Science Behind Adhesive Failure To ensure your lighting stays in place, you must first identify the forces working against it. Gravity is the most obvious culprit, but several invisible factors contribute to a failing installation. Surface Energy: Different materials have different "surface energy." Glass and metal have high surface energy, meaning the adhesive spreads and bonds easily. Plastics and certain "scrubbable" paints have low surface energy, causing the adhesive to bead up rather than stick. Outgassing: New paint can release gases for up to 30 days after application. These gases can chemically break down the adhesive bond from behind, causing the strip to peel away even if the surface feels dry to the touch. Thermal Cycling: LED chips generate heat. While 12V or 24V strips are efficient, the circuit board (PCB) still warms up. This heat softens the adhesive, making it more prone to "creep"-a slow sliding motion caused by the weight of the strip. Dust and Oils: Microscopic skin oils or household dust act as a barrier. If the adhesive touches dust before the wall, it bonds to the dust particles instead of the mounting surface. Preparing the Mounting Surface Preparation is 90% of the work. If the wall isn't chemically clean, no amount of pressure will make the lights stay up long-term. Avoid using standard household glass cleaners or multi-surface sprays. These products often contain silicone, waxes, or fragrances that leave a thin film behind, which acts as a release agent for the adhesive. The gold standard for preparation is 90% or higher Isopropyl Alcohol. Higher concentrations are preferred over the common 70% variety because they contain less water and evaporate faster, leaving zero residue. Wipe the area thoroughly using a lint-free microfiber cloth. If the cloth comes away gray or brown, repeat the process until the surface is pristine. Allow the area to air dry for at least five minutes before proceeding. Temperature also plays a critical role. Most adhesives require an application temperature between 60°F and 80°F (15°C - 27°C). If the wall is too cold, the adhesive becomes brittle and won't flow into the surface pores. If it is too hot, the adhesive may become too fluid to hold its own weight during the initial tack. Installation Mechanics for a Lasting Bond The "pressure" in pressure-sensitive adhesive is not a suggestion. To get LED lights to stick to wall surfaces effectively, you must apply firm, consistent force across every inch of the strip. Simply running a finger lightly over the tape is insufficient. Work in small increments of 6 to 12 inches. Peel back a small section of the paper backing, align it carefully, and press down. Use your thumb to apply heavy pressure for at least 10 to 15 seconds on each section. For the best results, use a small rubber wallpaper roller to apply even pressure across the entire length of the strip. This ensures that the adhesive is forced into the texture of the drywall. Avoid "over-stretching" the strip during installation. LED strips are flexible, but pulling them tight creates internal tension. Over time, the strip will try to contract to its original length, creating a constant pulling force on the ends that will eventually cause them to pop off the wall. Choosing the Right Method for Your Wall Type Not all walls are created equal. A strategy that works on a glass mirror will fail on a textured "orange peel" or "knockdown" drywall. Use the following table to determine if your surface requires additional help beyond the factory tape. Surface Material Texture Level Recommended Mounting Strategy Expected Longevity Glass / Mirror None Factory 3M Adhesive only Excellent Smooth Painted Drywall Low Adhesive + Alcohol Prep Good Textured Drywall Medium/High Adhesive + Mounting Clips Poor without clips Unfinished Wood Porous Staples or Screw-in Clips Very Poor (Adhesive fails) Brick / Concrete Rough Construction Adhesive or Channels Impossible with tape Powder-Coated Metal Varies VHB Tape (Very High Bond) Excellent Advanced Reinforcement Techniques When the factory adhesive isn't enough-especially on ceilings or vertical runs-you need mechanical or chemical reinforcements. These methods ensure that even if the adhesive softens due to heat, the strip remains physically tethered to the wall. Mounting Clips and Brackets Small, translucent plastic clips are the most reliable way to prevent "peel-back." These should be placed every 12 to 18 inches. They are particularly vital at the beginning and end of a run, where the weight of the power cable might pull on the strip. If you are renting and cannot use screws, look for adhesive-backed clips that use 3M Command strips, which are designed for clean removal. 3M VHB Tape If the original adhesive has already failed or been contaminated, do not try to "reactivate" it. Instead, scrape it off and apply 3M VHB (Very High Bond) tape. This is a closed-cell acrylic foam tape that is significantly thicker than the standard "tissue" tape found on cheap LEDs. It conforms to surface irregularities and creates a permanent bond that can often replace mechanical fasteners. It is commonly used in the automotive and construction industries for its sheer strength. Aluminum Channels For the most professional appearance and the longest lifespan, use aluminum LED channels (also known as extrusions). These U-shaped tracks are screwed into the wall, and the LED strip is adhered inside the track. This offers three major benefits: Heat Dissipation: The aluminum acts as a heat sink, drawing warmth away from the LEDs and the adhesive, preventing thermal degradation. Protection: A plastic diffuser cover protects the LEDs from dust and physical damage while softening the light to eliminate "hot spots." Perfect Alignment: It is much easier to mount a rigid metal track in a perfectly straight line than a floppy flexible strip. The Impact of Environment and Heat Environmental factors can significantly degrade adhesive over time. In kitchens, airborne grease can settle on the edges of the strip, slowly wicking underneath and dissolving the bond. In bathrooms, high humidity can cause moisture to penetrate the adhesive layer. If you are installing lights in these areas, look for IP65-rated strips which are coated in silicone. Note that these strips are heavier than non-waterproof ones, making mechanical clips mandatory rather than optional. Furthermore, consider the power draw of your lights. High-density strips (e.g., 120 LEDs per meter) generate significantly more heat than standard density (30 or 60 LEDs per meter). If your strip feels hot to the touch after 30 minutes of use, the adhesive is likely to fail within months unless it is mounted in an aluminum channel or reinforced with high-temperature hot glue dots every few inches. Safe Removal Without Wall Damage Inevitably, you may need to move or replace your lights. Ripping them off the wall will likely take the top layer of drywall paper or paint with it. To remove them safely, use a hair dryer on a medium-heat setting. Move the hair dryer back and forth over a 12-inch section for about 30 seconds. The heat will soften the acrylic polymers in the tape, allowing you to peel it back slowly at a 45-degree angle. If any sticky residue remains, do not scrub it with a dry cloth, as this will only spread the mess. Apply a small amount of citrus-based adhesive remover or more isopropyl alcohol to a rag and let it sit on the residue for a minute before wiping it away. For stubborn spots on non-porous surfaces, a plastic scraper or an old credit card can be used to gently lift the softened glue. Conclusion: Keeping LED strips firmly mounted is less about the lights themselves and more about respecting the chemistry and physics behind the adhesive. The factory tape on most strips is only a starting point - its success depends entirely on how well you prepare the surface, how much pressure you apply, and whether the wall material is suited to a pressure-sensitive bond in the first place. The key takeaways are straightforward: clean every mounting surface with 90%+ isopropyl alcohol, apply firm and sustained pressure during installation, and match your mounting method to your wall type. Smooth, non-porous surfaces will hold with adhesive alone, but textured drywall, ceilings, humid environments, and high-density strips almost always require reinforcement through mounting clips, VHB tape, or aluminum channels. Ultimately, a "permanent" LED installation is a system, not a single product. By combining proper surface prep, correct application technique, and the right mechanical backup for your environment, you can transform LED strips from a temporary novelty into a clean, lasting feature of your space - and avoid the all-too-familiar disappointment of finding them in a tangled heap on the floor. Frequently Asked Questions Q1: Can I use hot glue to keep my LED strips up? A: Yes, but with caution. Use a low-temperature glue gun to avoid damaging the delicate circuitry or melting the waterproof coating of the strip. Apply small dots of glue every 6 inches along the side of the strip rather than directly underneath it. This provides a "mechanical" bridge between the strip and the wall without interfering with the primary adhesive bond. Q2: How long should I wait before turning the lights on? A: Adhesive bonds improve over time. While the strip may feel secure immediately, it typically takes 24 hours for the bond to reach 90% strength and up to 72 hours for a full cure. It is best to keep the lights off during the first 24 hours to prevent heat from softening the adhesive before it has fully "wetted" the surface. Q3: Will LED strips stick to a popcorn ceiling? A: No. The surface area on a popcorn or highly textured ceiling is too small for the adhesive to grab. For these surfaces, you must use screw-in mounting clips or install a flat wooden or plastic trim piece first to provide a smooth mounting surface for the lights.

15 min readMay 20