How To Convert 4ft Fluorescent Light To LED

How To Convert 4ft Fluorescent Light To LED

Installation5 min readMarch 15, 2026Abubakar

Convert a 4ft fluorescent to LED with a plug-and-play Type A tube or ballast-bypass Type B tube. Saves 50% on energy with flicker-free light.

Convert a 4ft fluorescent fixture to LED by either swapping in a plug-and-play LED tube (Type A, no rewiring, under 2 minutes) or bypassing the ballast and wiring a Type B LED tube directly to line voltage (15-20 minutes of basic electrical work).

A 4ft LED T8 tube draws 15-18 watts versus 32 watts for the fluorescent tube it replaces, saving approximately 50% on energy while producing equal or greater brightness. Both methods produce instant-on, flicker-free light with better color rendering than fluorescent.

The 4-foot T8 is the most common fluorescent tube in North America, used in millions of garage, workshop, office, and kitchen fixtures. Converting these fixtures to LED is one of the simplest and most cost-effective energy upgrades available.

Method 1: Plug-and-Play (Type A) - No Rewiring

Turn off the light switch. Rotate the existing fluorescent tube 90 degrees and slide it out of the tombstone sockets. Slide the new Type A LED tube into the same sockets and rotate to lock. Turn the switch back on. The LED tube powers through the existing ballast with no modifications. This method takes under 2 minutes per tube and requires zero electrical knowledge.
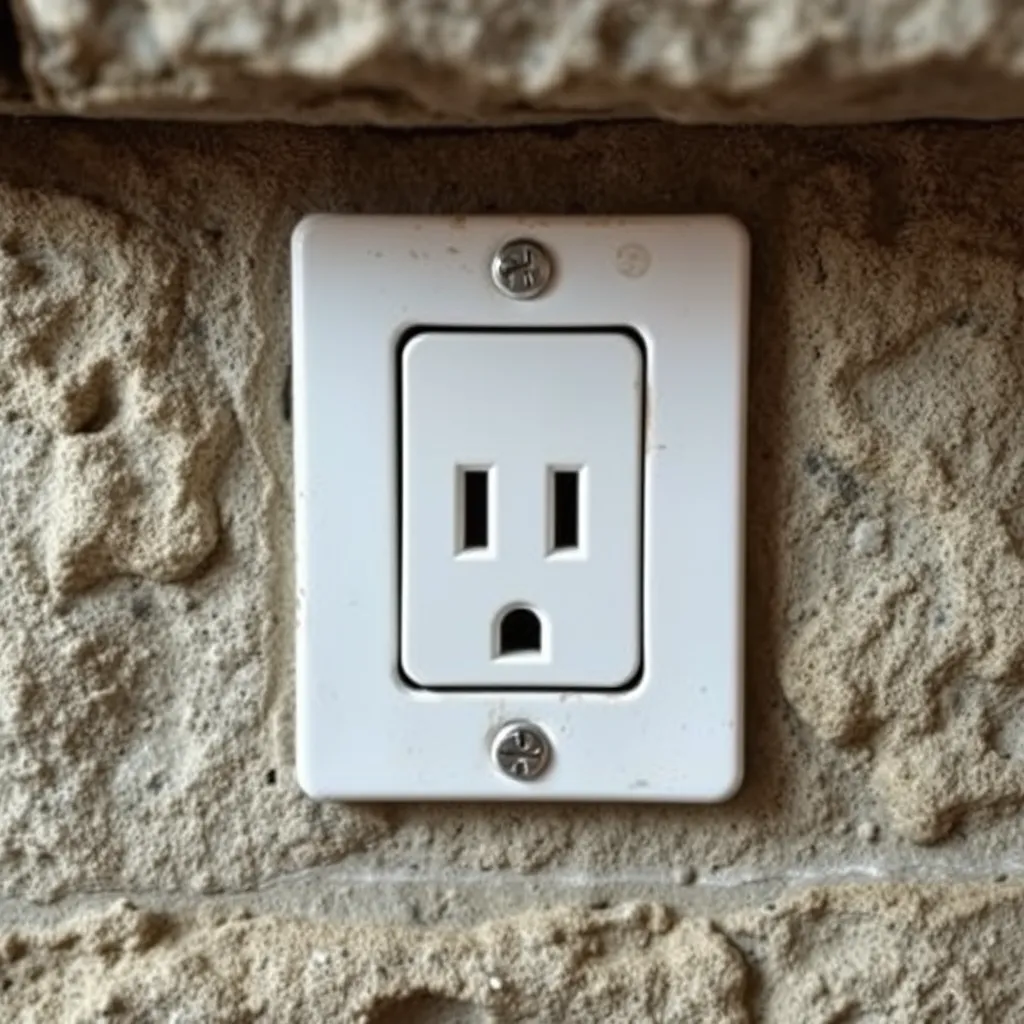
Close up of a tombstone socket inside a fluorescent fixture.

Before buying, open the fixture cover and find the ballast label. Check the LED tube's ballast compatibility list (printed on the packaging or available on the manufacturer's website). Type A tubes work with most instant-start electronic ballasts made after 2000. They are not compatible with older magnetic ballasts or programmed-start ballasts. If your ballast is not compatible, use Method 2.

The downside of Type A is that the ballast remains in the circuit, consuming 3-8 watts of electricity and serving as a future failure point. When the ballast eventually dies, you will need to either replace it or switch to Method 2. For a quick upgrade with minimal effort, Type A is excellent. For maximum long-term efficiency, Method 2 is preferred.

Method 2: Ballast Bypass (Type B) - Simple Rewiring

  1. Step 1: Turn off the circuit breaker (not just the switch). Confirm power is off with a non-contact voltage tester. Remove the fluorescent tubes and the fixture diffuser cover.
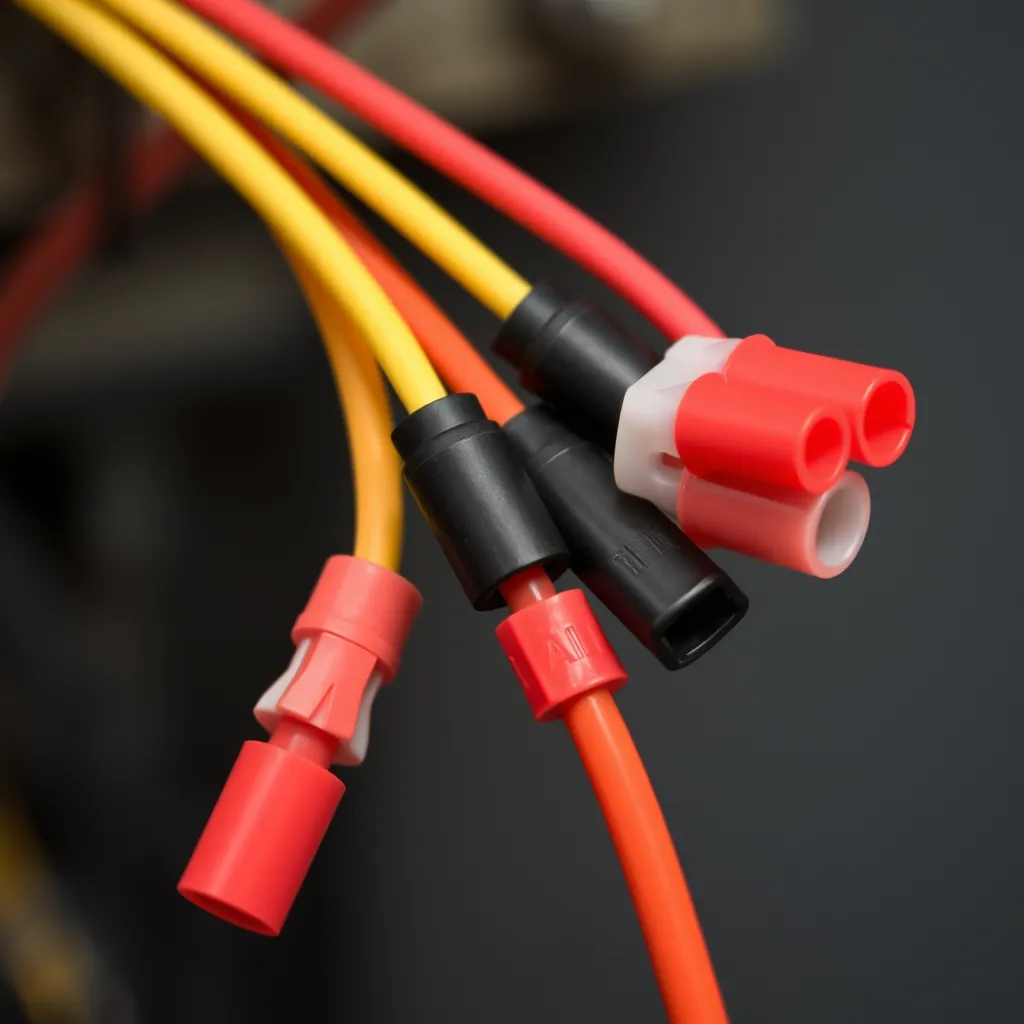
    Electrical wires secured with wire nuts inside a fixture.
  2. Step 2: Locate the ballast - a rectangular box, usually 8-12 inches long, wired between the tombstone sockets. Cut all wires going from the ballast to the tombstones. You can remove the ballast (unscrew the mounting screws) or leave it disconnected in place.

  3. Step 3: Connect the incoming hot wire (black) and neutral wire (white) directly to the tombstones. For single-end powered Type B tubes, both hot and neutral connect to the tombstones on ONE end of the fixture. For double-end powered tubes, hot goes to one end and neutral to the other. Check the LED tube packaging for the specific wiring diagram.

  4. Step 4: Secure all connections with wire nuts. Wrap each nut with a layer of electrical tape. Affix a warning label: "Ballast Bypassed - LED Tubes Only." This prevents someone from accidentally installing a fluorescent tube in the modified fixture, which could cause arcing or breakage. Install the Type B LED tube, replace the diffuser cover, and restore power at the breaker.

LED Tube Specifications for 4ft Fixtures
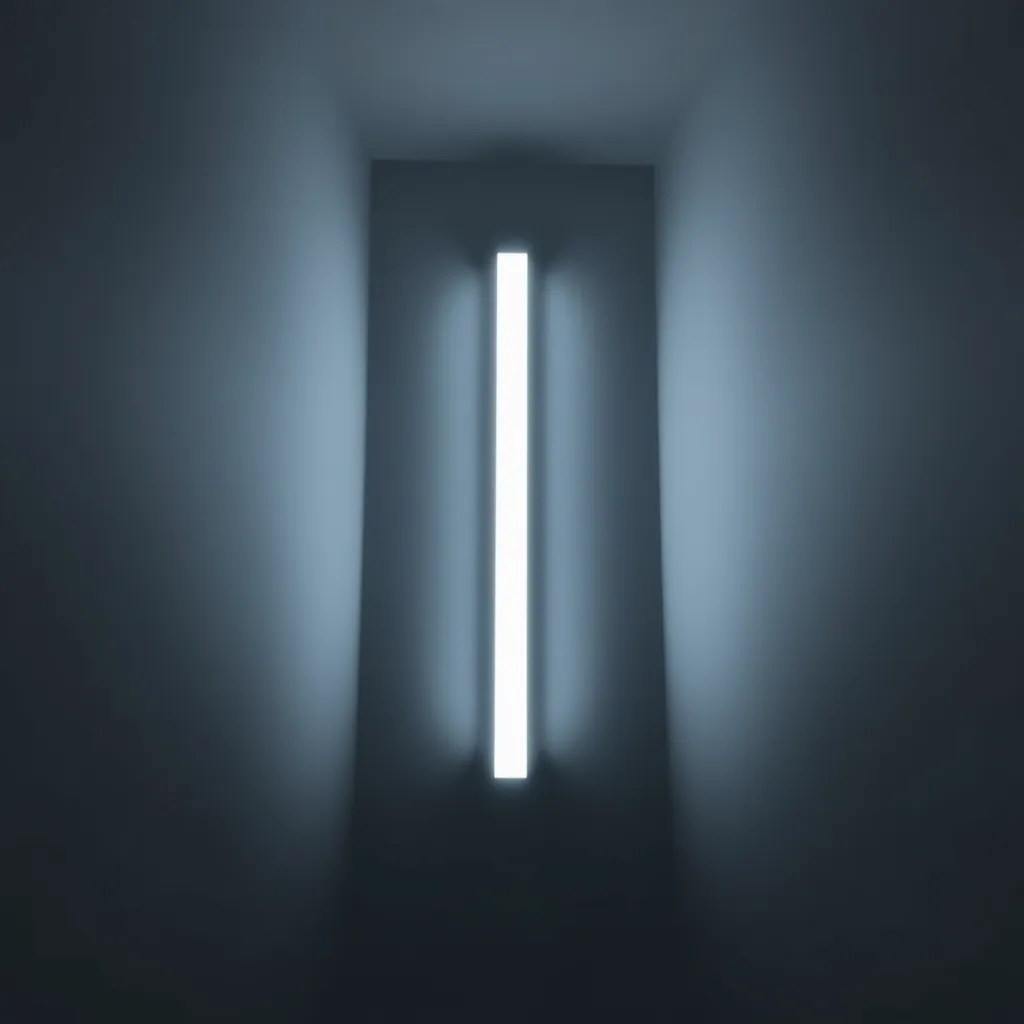
A bright, glowing LED tube illuminating a dark room.

Specification

Fluorescent T8

LED T8 Replacement

Wattage

32W

15-18W

Lumens

2,800

2,200-3,200

Color Temperature

4100K (cool white, fixed)

3000K-6500K (your choice)

CRI

75-85

80-95

Lifespan

20,000-30,000 hrs

50,000+ hrs

Warm-up Time

30 sec - 3 min

Instant

Mercury

Yes (~4 mg)

None

Choosing Between Type A and Type B

Use Type A when you want the fastest possible conversion with zero electrical work and your ballast is compatible. Use Type B when your ballast is old, magnetic, or not on the compatibility list; when you want to eliminate the ballast's energy waste; or when you want a maintenance-free installation with no future ballast replacements.

In commercial settings with many fixtures, Type B is the standard recommendation because the cumulative ballast energy savings and eliminated maintenance costs are substantial over the fixture's lifetime.

Frequently Asked Questions

Can I use a 4ft LED tube in a T12 fluorescent fixture?

LED T8 tubes (1-inch diameter) fit in T12 fixtures (1.5-inch diameter) because they share the same G13 bi-pin base. The LED tube is slightly thinner but the pins lock into the same tombstone sockets. If your T12 fixture has a magnetic ballast, use a Type B ballast-bypass LED tube because Type A tubes are generally not compatible with magnetic ballasts. The conversion is identical to the steps described above.

How much money does converting to LED save?

Converting one 4ft fixture (two tubes) from fluorescent to LED saves about 30 watts per fixture. Running 12 hours per day at $0.16/kWh, that saves approximately $21 per fixture per year. A garage with four fixtures saves $84 annually. A small office with 20 fixtures saves $420 annually. The LED tubes typically cost $5-$10 each, so the payback period is 3-8 months depending on usage.

Do I need to replace the tombstones when bypassing the ballast?

For non-shunted tombstones (two separate electrical contacts), no replacement is needed - they work with both single-end and double-end powered LED tubes. For shunted tombstones (both contacts connected internally), you may need to replace them with non-shunted versions if using single-end powered Type B tubes. Non-shunted tombstones cost $1-$2 each and snap into the same mounting holes. Check the LED tube instructions for the specific tombstone requirement.
Related Articles

More guides in this category

How to Install a LED Light Bar
Installation

How to Install a LED Light Bar

Step-by-step guide to installing a LED light bar: wiring, relays, mounting, and sealing for safe, reliable off-road performance.

15 min readMay 24
How to Remove a Ballast for LED Lights
Installation

How to Remove a Ballast for LED Lights

Learn to safely remove a ballast for LED lights with our step-by-step guide on tube types, tombstones, wiring, and key mistakes to avoid.

12 min readMay 23
How To Get LED Lights To Stick To Wall
Installation

How To Get LED Lights To Stick To Wall

The frustration of finding a pile of tangled LED strips on the floor a few days after installation is a common experience for many DIY enthusiasts. While most flexible light strips come with a pre-applied adhesive backing, the factory tape is often the bare minimum required for temporary placement. Achieving a permanent, professional-grade bond requires an understanding of surface tension, adhesive chemistry, and mechanical reinforcement. Most consumer-grade light strips utilize a pressure-sensitive adhesive (PSA). Unlike liquid glues that dry and harden, PSAs remain "tacky" and rely on physical pressure to create a bond with the microscopic pores of a surface. When these lights fail, it is rarely because the glue "dried out." Instead, it is usually due to surface contamination, improper curing, or environmental factors like heat and gravity overcoming the adhesive's shear strength. The Science Behind Adhesive Failure To ensure your lighting stays in place, you must first identify the forces working against it. Gravity is the most obvious culprit, but several invisible factors contribute to a failing installation. Surface Energy: Different materials have different "surface energy." Glass and metal have high surface energy, meaning the adhesive spreads and bonds easily. Plastics and certain "scrubbable" paints have low surface energy, causing the adhesive to bead up rather than stick. Outgassing: New paint can release gases for up to 30 days after application. These gases can chemically break down the adhesive bond from behind, causing the strip to peel away even if the surface feels dry to the touch. Thermal Cycling: LED chips generate heat. While 12V or 24V strips are efficient, the circuit board (PCB) still warms up. This heat softens the adhesive, making it more prone to "creep"-a slow sliding motion caused by the weight of the strip. Dust and Oils: Microscopic skin oils or household dust act as a barrier. If the adhesive touches dust before the wall, it bonds to the dust particles instead of the mounting surface. Preparing the Mounting Surface Preparation is 90% of the work. If the wall isn't chemically clean, no amount of pressure will make the lights stay up long-term. Avoid using standard household glass cleaners or multi-surface sprays. These products often contain silicone, waxes, or fragrances that leave a thin film behind, which acts as a release agent for the adhesive. The gold standard for preparation is 90% or higher Isopropyl Alcohol. Higher concentrations are preferred over the common 70% variety because they contain less water and evaporate faster, leaving zero residue. Wipe the area thoroughly using a lint-free microfiber cloth. If the cloth comes away gray or brown, repeat the process until the surface is pristine. Allow the area to air dry for at least five minutes before proceeding. Temperature also plays a critical role. Most adhesives require an application temperature between 60°F and 80°F (15°C - 27°C). If the wall is too cold, the adhesive becomes brittle and won't flow into the surface pores. If it is too hot, the adhesive may become too fluid to hold its own weight during the initial tack. Installation Mechanics for a Lasting Bond The "pressure" in pressure-sensitive adhesive is not a suggestion. To get LED lights to stick to wall surfaces effectively, you must apply firm, consistent force across every inch of the strip. Simply running a finger lightly over the tape is insufficient. Work in small increments of 6 to 12 inches. Peel back a small section of the paper backing, align it carefully, and press down. Use your thumb to apply heavy pressure for at least 10 to 15 seconds on each section. For the best results, use a small rubber wallpaper roller to apply even pressure across the entire length of the strip. This ensures that the adhesive is forced into the texture of the drywall. Avoid "over-stretching" the strip during installation. LED strips are flexible, but pulling them tight creates internal tension. Over time, the strip will try to contract to its original length, creating a constant pulling force on the ends that will eventually cause them to pop off the wall. Choosing the Right Method for Your Wall Type Not all walls are created equal. A strategy that works on a glass mirror will fail on a textured "orange peel" or "knockdown" drywall. Use the following table to determine if your surface requires additional help beyond the factory tape. Surface Material Texture Level Recommended Mounting Strategy Expected Longevity Glass / Mirror None Factory 3M Adhesive only Excellent Smooth Painted Drywall Low Adhesive + Alcohol Prep Good Textured Drywall Medium/High Adhesive + Mounting Clips Poor without clips Unfinished Wood Porous Staples or Screw-in Clips Very Poor (Adhesive fails) Brick / Concrete Rough Construction Adhesive or Channels Impossible with tape Powder-Coated Metal Varies VHB Tape (Very High Bond) Excellent Advanced Reinforcement Techniques When the factory adhesive isn't enough-especially on ceilings or vertical runs-you need mechanical or chemical reinforcements. These methods ensure that even if the adhesive softens due to heat, the strip remains physically tethered to the wall. Mounting Clips and Brackets Small, translucent plastic clips are the most reliable way to prevent "peel-back." These should be placed every 12 to 18 inches. They are particularly vital at the beginning and end of a run, where the weight of the power cable might pull on the strip. If you are renting and cannot use screws, look for adhesive-backed clips that use 3M Command strips, which are designed for clean removal. 3M VHB Tape If the original adhesive has already failed or been contaminated, do not try to "reactivate" it. Instead, scrape it off and apply 3M VHB (Very High Bond) tape. This is a closed-cell acrylic foam tape that is significantly thicker than the standard "tissue" tape found on cheap LEDs. It conforms to surface irregularities and creates a permanent bond that can often replace mechanical fasteners. It is commonly used in the automotive and construction industries for its sheer strength. Aluminum Channels For the most professional appearance and the longest lifespan, use aluminum LED channels (also known as extrusions). These U-shaped tracks are screwed into the wall, and the LED strip is adhered inside the track. This offers three major benefits: Heat Dissipation: The aluminum acts as a heat sink, drawing warmth away from the LEDs and the adhesive, preventing thermal degradation. Protection: A plastic diffuser cover protects the LEDs from dust and physical damage while softening the light to eliminate "hot spots." Perfect Alignment: It is much easier to mount a rigid metal track in a perfectly straight line than a floppy flexible strip. The Impact of Environment and Heat Environmental factors can significantly degrade adhesive over time. In kitchens, airborne grease can settle on the edges of the strip, slowly wicking underneath and dissolving the bond. In bathrooms, high humidity can cause moisture to penetrate the adhesive layer. If you are installing lights in these areas, look for IP65-rated strips which are coated in silicone. Note that these strips are heavier than non-waterproof ones, making mechanical clips mandatory rather than optional. Furthermore, consider the power draw of your lights. High-density strips (e.g., 120 LEDs per meter) generate significantly more heat than standard density (30 or 60 LEDs per meter). If your strip feels hot to the touch after 30 minutes of use, the adhesive is likely to fail within months unless it is mounted in an aluminum channel or reinforced with high-temperature hot glue dots every few inches. Safe Removal Without Wall Damage Inevitably, you may need to move or replace your lights. Ripping them off the wall will likely take the top layer of drywall paper or paint with it. To remove them safely, use a hair dryer on a medium-heat setting. Move the hair dryer back and forth over a 12-inch section for about 30 seconds. The heat will soften the acrylic polymers in the tape, allowing you to peel it back slowly at a 45-degree angle. If any sticky residue remains, do not scrub it with a dry cloth, as this will only spread the mess. Apply a small amount of citrus-based adhesive remover or more isopropyl alcohol to a rag and let it sit on the residue for a minute before wiping it away. For stubborn spots on non-porous surfaces, a plastic scraper or an old credit card can be used to gently lift the softened glue. Conclusion: Keeping LED strips firmly mounted is less about the lights themselves and more about respecting the chemistry and physics behind the adhesive. The factory tape on most strips is only a starting point - its success depends entirely on how well you prepare the surface, how much pressure you apply, and whether the wall material is suited to a pressure-sensitive bond in the first place. The key takeaways are straightforward: clean every mounting surface with 90%+ isopropyl alcohol, apply firm and sustained pressure during installation, and match your mounting method to your wall type. Smooth, non-porous surfaces will hold with adhesive alone, but textured drywall, ceilings, humid environments, and high-density strips almost always require reinforcement through mounting clips, VHB tape, or aluminum channels. Ultimately, a "permanent" LED installation is a system, not a single product. By combining proper surface prep, correct application technique, and the right mechanical backup for your environment, you can transform LED strips from a temporary novelty into a clean, lasting feature of your space - and avoid the all-too-familiar disappointment of finding them in a tangled heap on the floor. Frequently Asked Questions Q1: Can I use hot glue to keep my LED strips up? A: Yes, but with caution. Use a low-temperature glue gun to avoid damaging the delicate circuitry or melting the waterproof coating of the strip. Apply small dots of glue every 6 inches along the side of the strip rather than directly underneath it. This provides a "mechanical" bridge between the strip and the wall without interfering with the primary adhesive bond. Q2: How long should I wait before turning the lights on? A: Adhesive bonds improve over time. While the strip may feel secure immediately, it typically takes 24 hours for the bond to reach 90% strength and up to 72 hours for a full cure. It is best to keep the lights off during the first 24 hours to prevent heat from softening the adhesive before it has fully "wetted" the surface. Q3: Will LED strips stick to a popcorn ceiling? A: No. The surface area on a popcorn or highly textured ceiling is too small for the adhesive to grab. For these surfaces, you must use screw-in mounting clips or install a flat wooden or plastic trim piece first to provide a smooth mounting surface for the lights.

15 min readMay 20