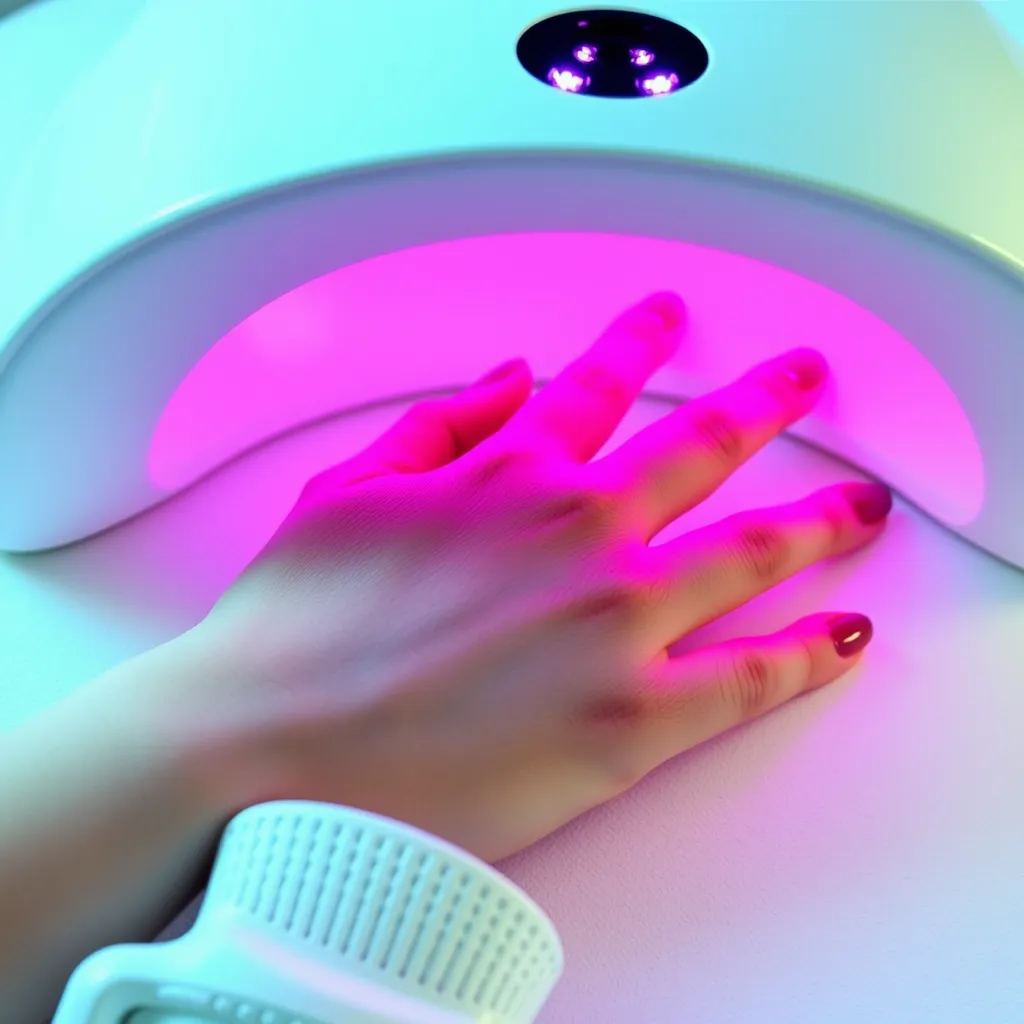
The transition from a liquid resin to a rock-hard, high-gloss finish is a chemical process known as photopolymerization. When you place your hand under an LED lamp, the light energy triggers photoinitiators within the gel, causing them to link together into a durable plastic polymer. Unlike traditional air-dry polish, which relies on solvent evaporation, gel polish requires specific wavelengths of light to achieve its structural integrity.
In most professional and home settings, gel polish cures in 30 to 60 seconds per layer using a 48W LED lamp. This efficiency is the primary reason LED technology has largely replaced traditional UV lamps, which typically require two to three minutes for the same result. However, achieving a salon-quality manicure that lasts 14+ days without lifting or peeling requires more than just hitting a timer; it requires an understanding of how light intensity, gel thickness, and chemical composition interact.
The Science of Curing: LED vs. UV Wavelengths
The term "LED lamp" is slightly misleading because these devices still emit ultraviolet light. The distinction lies in the delivery system and the specific spectrum. Traditional UV lamps use fluorescent tubes that emit a broad spectrum of light, usually between 320nm and 400nm. Because this energy is spread across a wide range, only a small portion effectively hits the "sweet spot" needed to activate the gel's photoinitiators.
Modern LED lamps use light-emitting diodes to concentrate energy into a much narrower band, typically centered around 405nm. This targeted approach allows the curing process to happen significantly faster. Because the light is more intense and focused, the chemical reaction occurs in a fraction of the time.
Many professional lamps today are "dual-wave," featuring chips that emit both 365nm and 405nm. This ensures compatibility with older "UV-only" gels while maintaining the rapid speed of LED curing for modern formulas.
Layer-by-Layer Curing Time Breakdown
Every layer of a gel manicure serves a different structural purpose, and their curing requirements vary slightly based on their chemical density. While 30-60 seconds is the standard, the following table provides a more nuanced look based on lamp power.
Manicure Layer | 36W - 48W LED Lamp | Low Power (6W - 24W) LED | Traditional UV Lamp (36W) |
|---|---|---|---|
Base Coat | 30 Seconds | 45-60 Seconds | 120 Seconds |
Standard Color Coat | 30-60 Seconds | 60-90 Seconds | 120 Seconds |
Highly Pigmented (Black/White) | 60 Seconds | 90 Seconds | 180 Seconds |
Glitter or Shimmer Gel | 60 Seconds | 60-90 Seconds | 120-180 Seconds |
Structure/Builder Gel | 60 Seconds | 90-120 Seconds | 180 Seconds |
Top Coat (No-Wipe) | 60 Seconds | 60-90 Seconds | 120-180 Seconds |
Factors That Influence How Long To Cure Gel Polish With LED Light
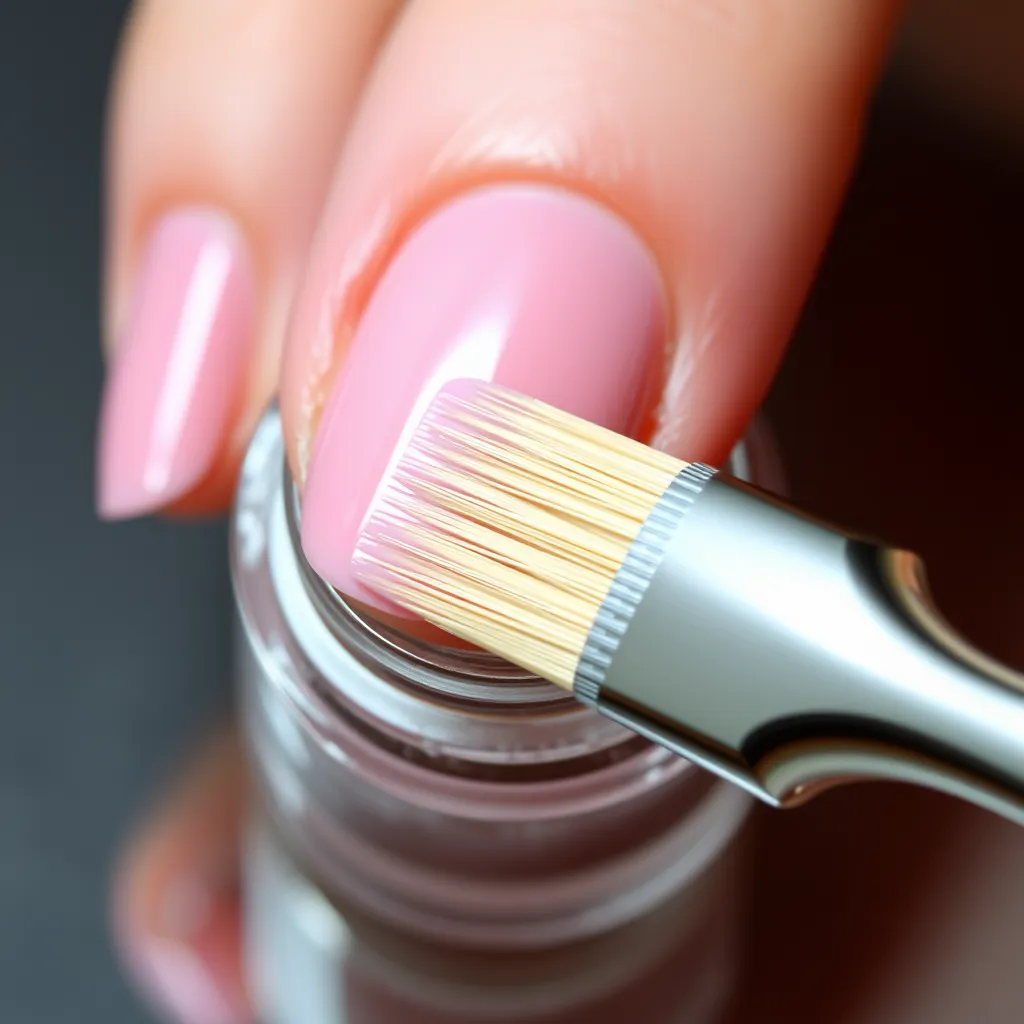
While the wattage of the lamp is the most cited factor, several other variables dictate whether a 30-second cure is sufficient or if you need to double the time.
Pigment Density and Light Penetration
Light must reach the very bottom of the gel layer to ensure it bonds to the nail plate or the previous layer. Darker colors, such as deep navy, forest green, or solid black, contain high concentrations of pigment that physically block light from penetrating through the film. If you cure a thick layer of black gel for only 30 seconds, the top might feel hard while the bottom remains liquid, leading to "shoving" or peeling later.
The Role of Wattage and Diode Placement
A lamp's wattage measures the amount of electricity it consumes, but the number and placement of the diodes are equally important. A 48W lamp with 30 strategically placed LEDs will cure more evenly than a 54W lamp with only 12 LEDs. If your hand is positioned in a "dead zone" where light doesn't reach, the gel will remain under-cured regardless of the timer setting.
Coating Thickness
Applying thick layers is the most common mistake in gel application. A thick layer creates a "crust" on top that prevents the LED light from reaching the lower levels. It is always more effective to apply three paper-thin coats than one thick coat. Thin coats ensure the 405nm light waves can penetrate the entire depth of the material uniformly.
Curing Times for Professional and Consumer Brands
Different manufacturers use different concentrations of photoinitiators. Following the specific brand's guidelines is the best way to ensure longevity.
Gel Brand | Recommended LED Time | Best Practices |
|---|---|---|
OPI GelColor | 30 Seconds | Requires a 365+405nm lamp for optimal shine. |
Gelish | 30 Seconds | Very stable formula; works well with most 36W+ lamps. |
CND Shellac | 60 Seconds | Technically a power-polish; sensitive to specific wavelengths. |
Beetles / Modelones | 60 Seconds | Consumer-grade pigments often require longer exposure. |
AIMEILI / Kiara Sky | 30-60 Seconds | Highly pigmented; use 60 seconds for darker shades. |
Identifying and Fixing Under-Cured Gel
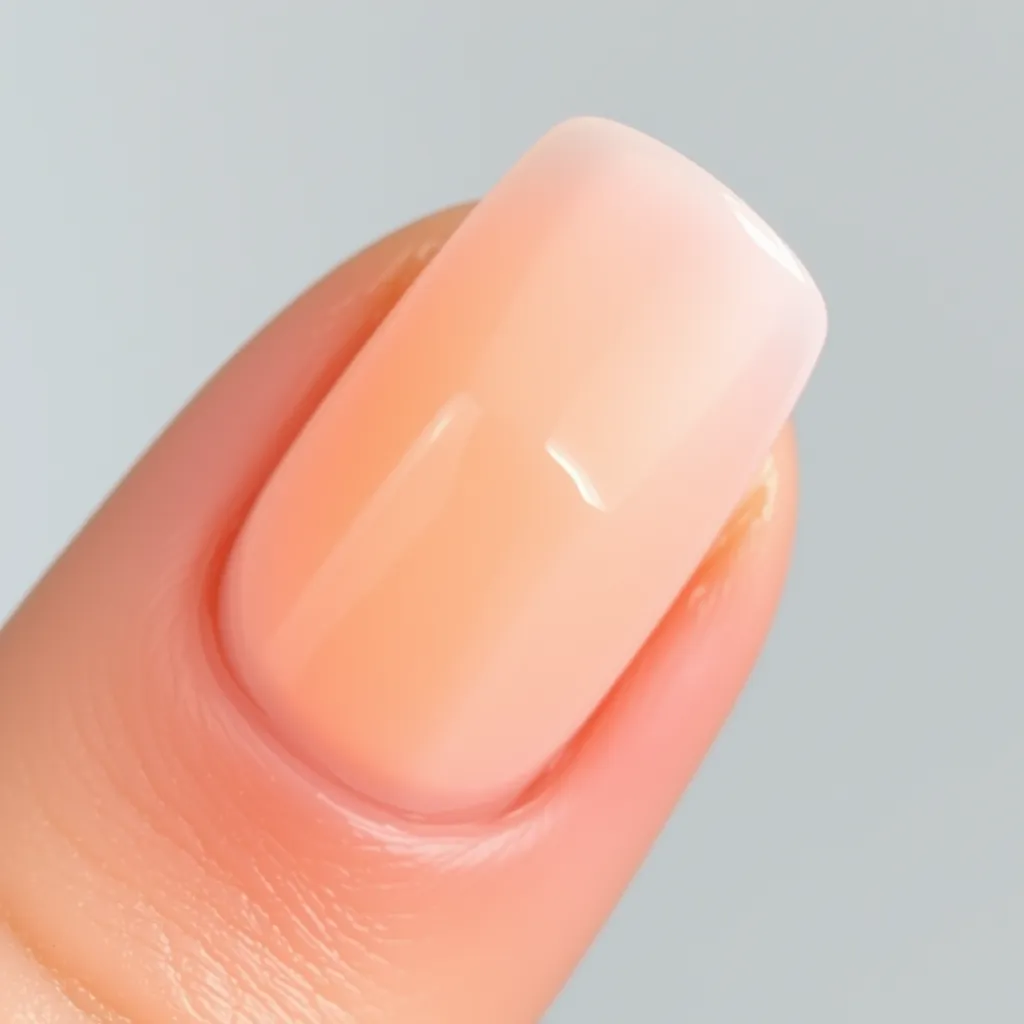
Knowing how long to cure gel polish with LED light also means knowing how to spot a failed cure. Under-curing is the leading cause of "gel allergies" (contact dermatitis) because the skin is exposed to uncured monomers for extended periods.
Wrinkling and "Tunnelling"
If the gel looks like a raisin or has visible ripples after coming out of the lamp, the layer was too thick. The top cured and shrunk while the bottom stayed liquid, pulling the surface into wrinkles. You must remove the gel and start over with thinner applications; you cannot "fix" a wrinkled layer by curing it longer.
The Sticky Layer vs. Under-Curing
Many beginners mistake the "inhibition layer" for under-cured gel. After curing, most gels (unless they are "no-wipe") will have a sticky, tacky surface. This is normal. It is the result of oxygen in the air preventing the very top microns of gel from fully polymerizing. This layer helps the next coat of color adhere. Do not confuse this with soft, smudgy gel, which indicates a failed cure.
Dulling and Smudging
If the top coat looks cloudy after wiping away the inhibition layer with isopropyl alcohol, it likely needed more time. A 60-second cure for the final top coat is standard to ensure maximum scratch resistance and gloss.
Professional Techniques for a Perfect Cure
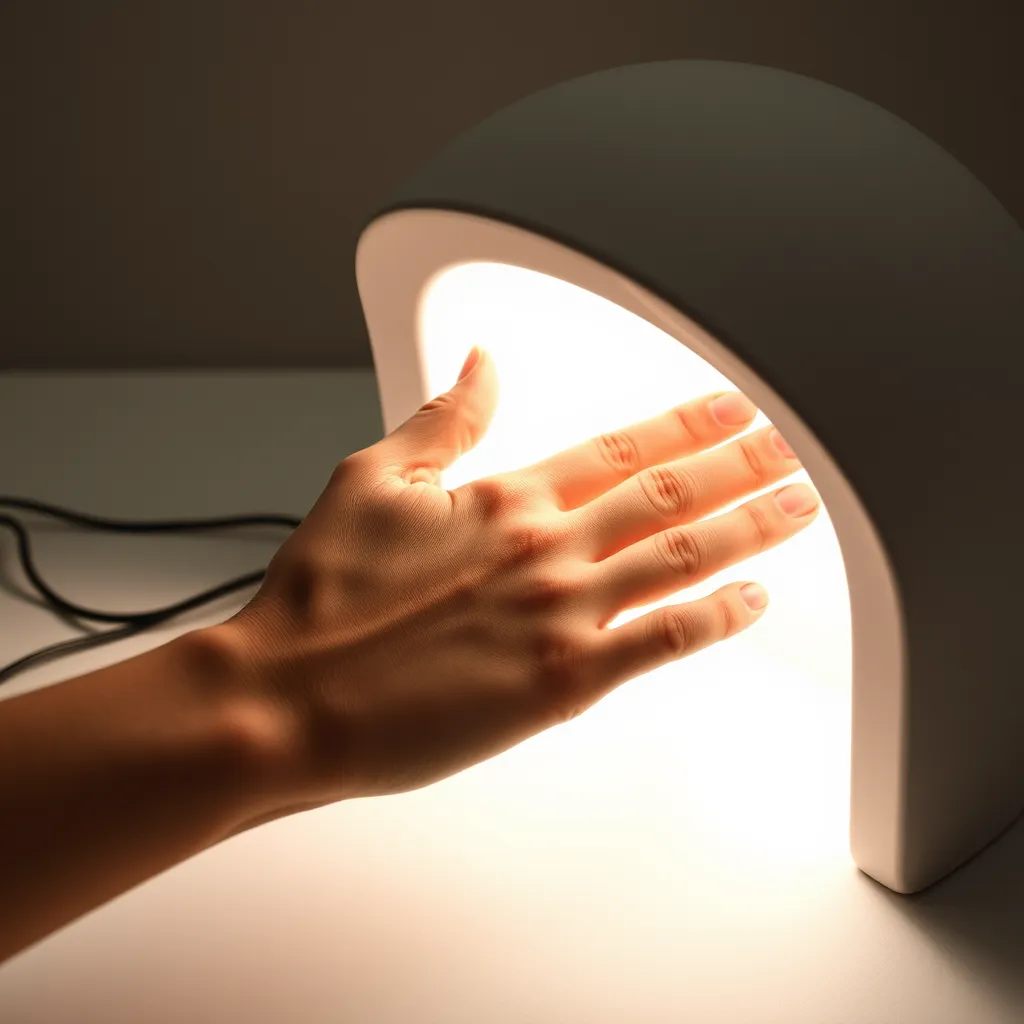
To get the most out of your LED lamp, follow these professional-grade tips:
The Thumb Issue: Most lamps are designed for four fingers. When you put your whole hand in, the thumb often sits at an angle, facing the side wall of the lamp rather than the LEDs. Always cure your four fingers together, then cure your thumbs separately, flat on the bottom of the lamp.
Mind the Heat Spike: High-performance LED lamps can cause a "heat spike" (exothermic reaction). This happens when the chemical bonds form so quickly that they release a burst of heat. If you feel a burning sensation, pull your hand out for three seconds and then put it back in. Many modern lamps have a "Low Heat Mode" that gradually increases power to prevent this.
Clean Your Lamp: Over time, gel polish can drip onto the LED diodes. Even a tiny speck of dried gel on a light bulb can reduce the UV output significantly. Periodically check the interior of your lamp and gently clean the LEDs with a small amount of alcohol on a cotton swab (ensure the lamp is unplugged).
Hand Placement: Ensure your fingers are spread slightly and not overlapping. If one finger casts a shadow on another, the shadowed area will not cure properly.
Maintenance and LED Lifespan
Unlike UV fluorescent bulbs, which need to be replaced every 6-10 months, LEDs are rated for 35,000 to 50,000 hours of use. In a home environment, an LED lamp will likely never need bulb replacements. However, the circuitry can degrade. If you notice that your 30-second cure is suddenly leaving the gel soft, or if the lights seem dimmer, the internal power supply may be failing, and it is time for a new unit.
Conclusion:
Mastering how long to cure gel polish with LED light comes down to balancing three things: lamp power, layer thickness, and pigment density. While 30-60 seconds per layer is the standard for a quality 48W lamp, darker colors, builder gels, and low-wattage devices all demand extra time. The key to a manicure that lasts 14+ days without lifting is applying thin, even coats and following each brand's specific guidelines. Pay attention to warning signs like wrinkling or smudging, cure your thumbs separately, and keep your lamp clean. With these techniques, you can consistently achieve a durable, glossy, salon-quality finish at home.
Frequently Asked Questions
Q1: Can I cure regular nail polish with an LED lamp?
A: No. Regular nail polish dries through the evaporation of solvents. It does not contain the photoinitiators required to react to LED light. Placing regular polish under a lamp will not speed up the drying process and may actually cause the surface to dry while the bottom stays wet, leading to a messy finish.
Q2: Is it possible to over-cure gel polish?
A: While you cannot "over-harden" the gel beyond its chemical limit, excessive exposure (several minutes) can make some gels more brittle and harder to soak off later. It can also cause slight yellowing in clear top coats. Stick to the recommended 60-second maximum per layer.
Q3: Why does my gel still feel sticky after 60 seconds?
A: This is likely the inhibition layer mentioned earlier. Unless you are using a "No-Wipe" top coat, there will always be a tacky residue on the surface. Wipe it off with 70% or higher isopropyl alcohol once the final top coat has been cured. If the color coat is sticky, do not wipe it; simply apply the next layer directly on top.